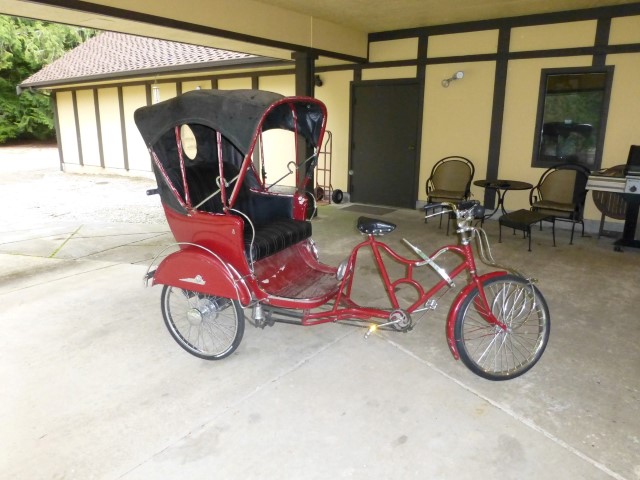


This is the starting point for a new restoration project. When I was down in Portland Oregon with my brother Mark, we saw a circa-1949 Victory Pedicab from Taiwan along the curb. We were intrigued by the stylish flare of it, and thought that it would be fun to restore. You can see the artful sweeps of the frame, and the flair of the rear body, for example.
The "seller" (there was no for-sale sign on it) said that it couldn't be made to run again. Brakes didn't work properly, the tires come off the rim if inflated properly, no parts available.... To guys like my brother and I, statements like this really set the hook for purchase. If you are reading this, you are probably the same.
Mark was intrigued just the same as I, so we planned that I would do the frame and mechanicals, and he would take on the body, top and upholstery. This particular one doesn't look too bad from a distance, but it needs mechanical work on the brakes and chassis, bodywork, paint, and replacement of the bows in the folding top. Fortunately most of the parts are there, and the chrome is good. Will be a fun project!
I don't know the history of this one, but there seem to be very few in the US. I understand that a handful were imported for the '62 World's Fair in Seattle. Perhaps this was one of them.
When I rolled into our driveway with it in the trailer, my nice wife of 35 years told me that she wasn't surprised with about anything I might haul home anymore, but this was close.
It has a very jaunty appearance from the rear, like some of the very early cars and buggies. And check out that cool oval back window.
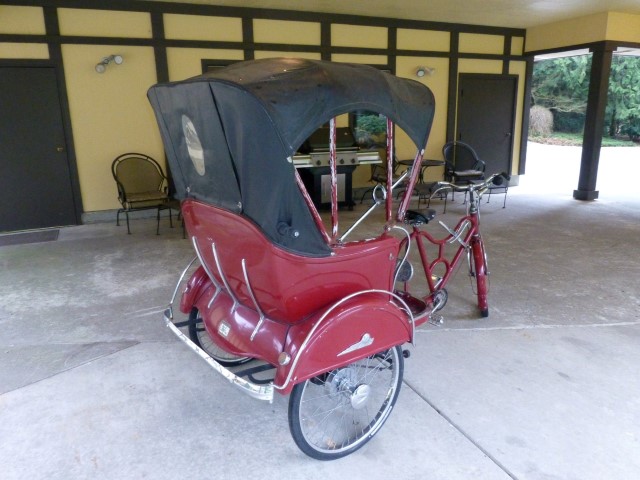
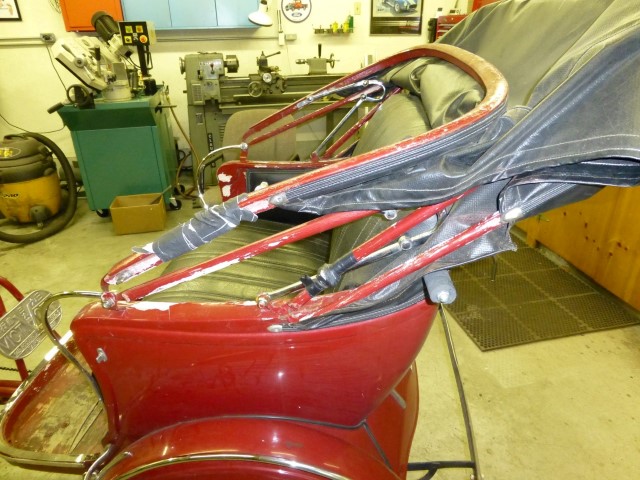
With the top folded down, you can see that the bows are in rough shape. As is the body with paint and filler peeling off.
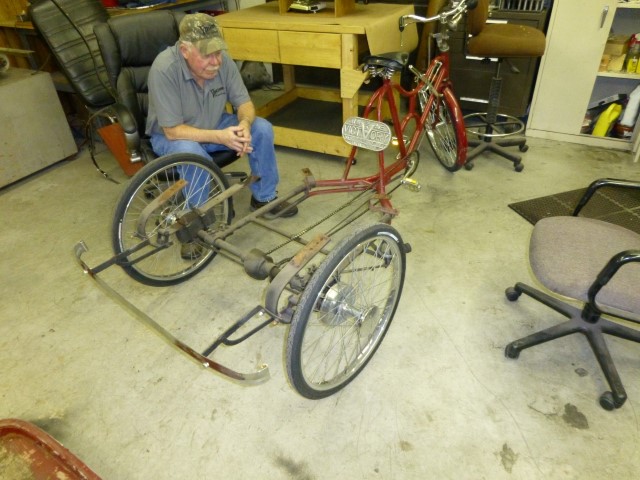
The first operation was to take a bunch of pictures so that it could be reassembled the same way, then tear it all down. Here's my brother assessing the frame after we removed the body. What's sitting here is my responsibility, and what's removed is his. I got the better end of this deal!
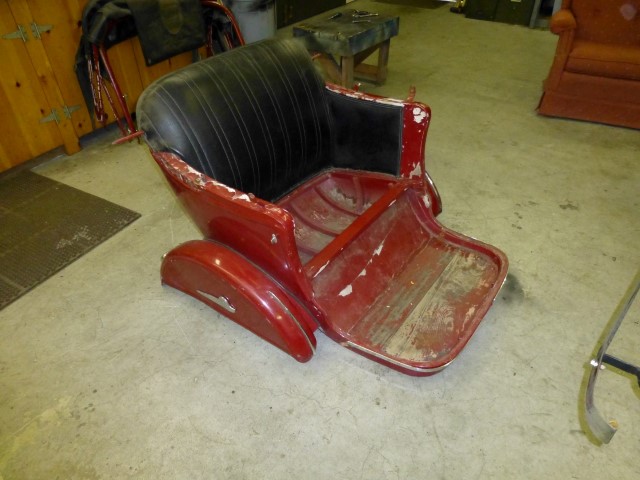
Here's the body after it is removed from the frame. There's a little storage area under the seat.
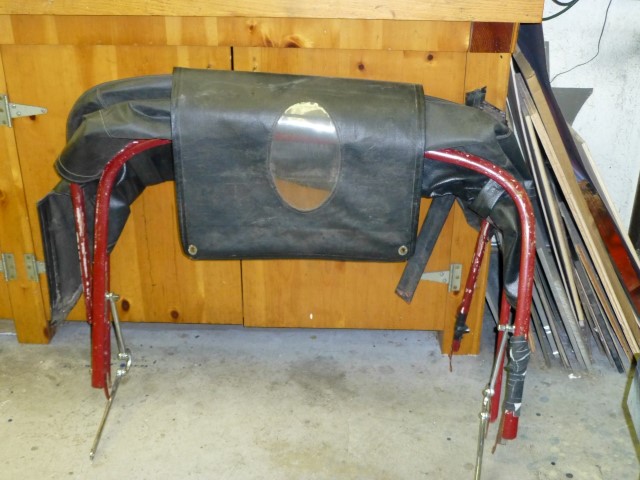
Here's the top once removed. Somebody in the past used a lot of duct tape and splints to keep it from collapsing.
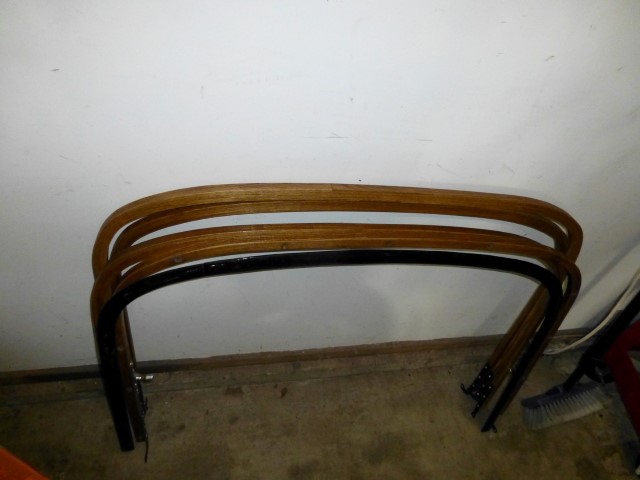
Mark didn't waste any time, and he's a super-skillful guy. He laminated new top bows from thin strips of wood, and in the process making them them match the original curves.
Here he is in the middle of doing body work on it. The body is steel, but has a wooden frame holding it in shape and providing structural rigidity, not unlike many of the old British cars. Mark replaced some of the wood, but kept that which was still in good shape.
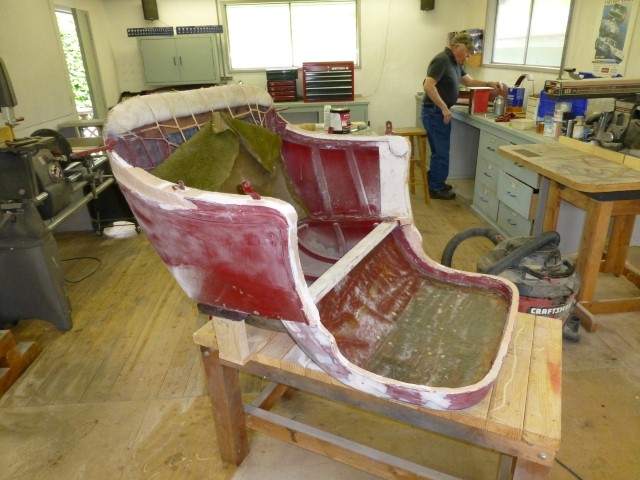
Then he painted the body with a color matching the original. This is after a color coat, but before hand-sanding the paint with super-fine sand-paper and doing final polishing. He made a wooden buck to hold it during the bodywork.
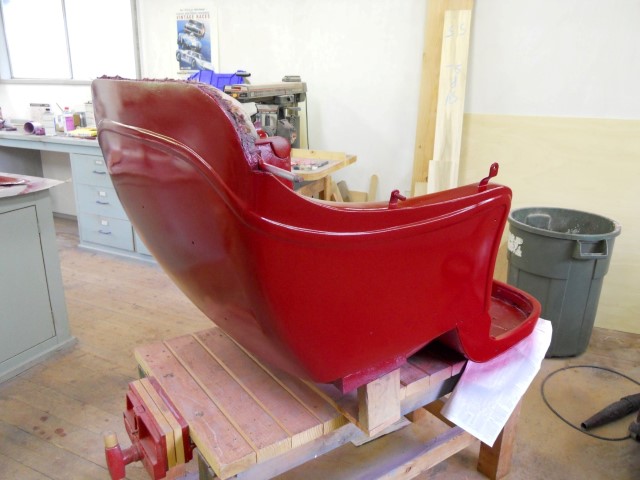
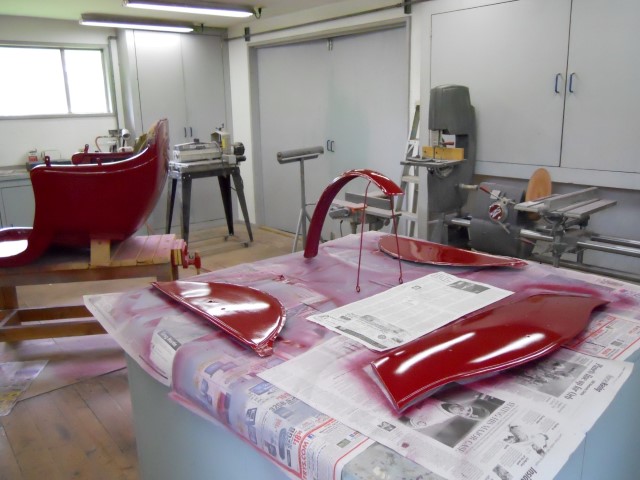
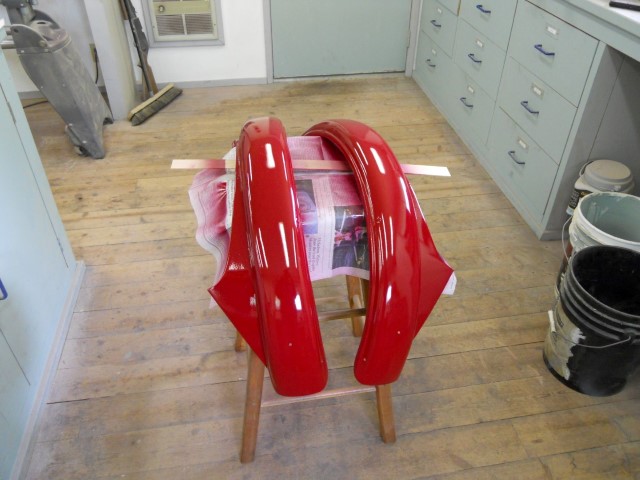
There are a lot parts that required bodywork and repainting, as shown in the following two shots. Mark's shop will probably have a red hue from now on. My shop has never recovered its colors either after the gray and red of a Ford 8N tractor restoration a few years ago.
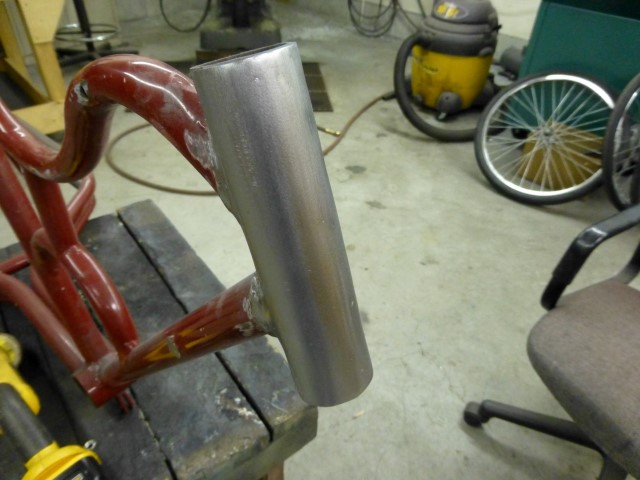
While Mark is busy doing all of this work, and then fixing up and reinstalling the upholstery, I'm working on the chassis. In this "before" photo, you can see that the steering crown is hopelessly pitted. Also, the pivot for the hand-brake is shot, its seen almost 70 years of use. You can also see the front fender mounting tab ripped out from the sheet metal - Mark handled that when he restored the front fender.
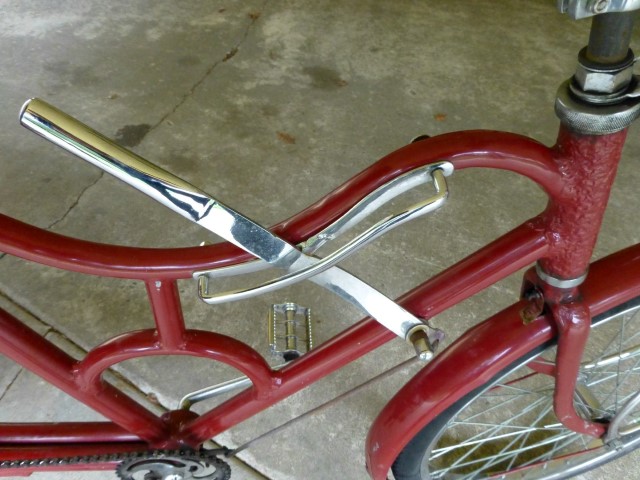
I got busy with sand-paper and files to clean up the steering crown, and machined a replacement pivot stud for the handbrake, then welded in on in place of the old one. You can see on the lower frame tube where I have cut off the old brake pivot, but not welded on the new one yet.
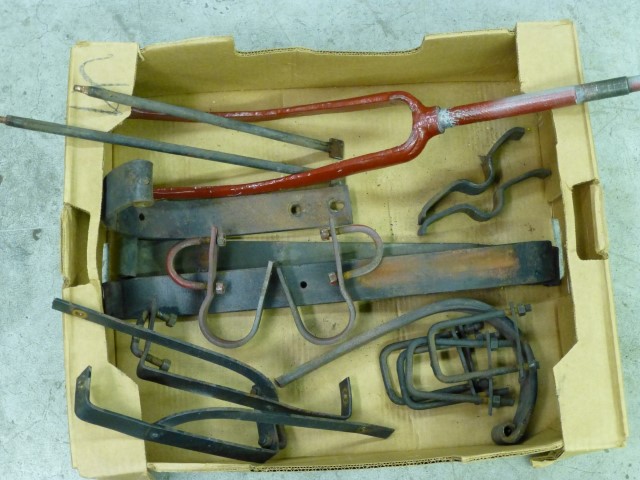
As I remove and refurbish parts, I'm throwing them in a box for sandblasting. Some of the parts would fit into my sandblaster, but certainly not the frame, so I decided to take them all in.
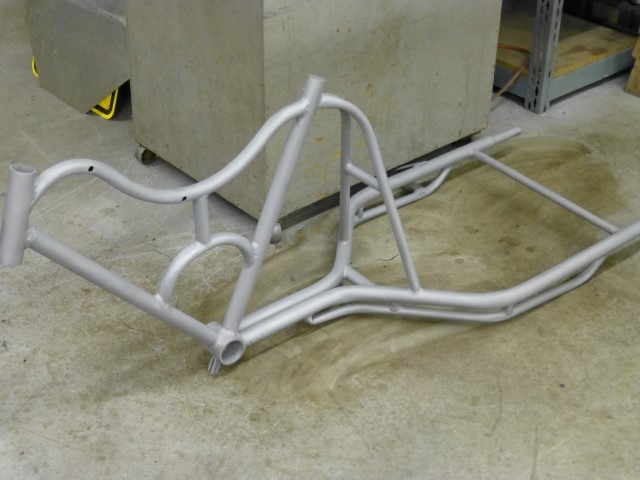
Here's what the frame looks like after sandblasting, the rest of the parts look similar.
I found a very close match to the original color in powder-coat. I have an Eastwood powder-coating set at home that allows me to do little parts, but I had to take the frame to "the pros" to be powder-coated. I've done larger items before (like motorcycle frames), and if you can't cure the whole thing at once, it leaves a hazy area between.
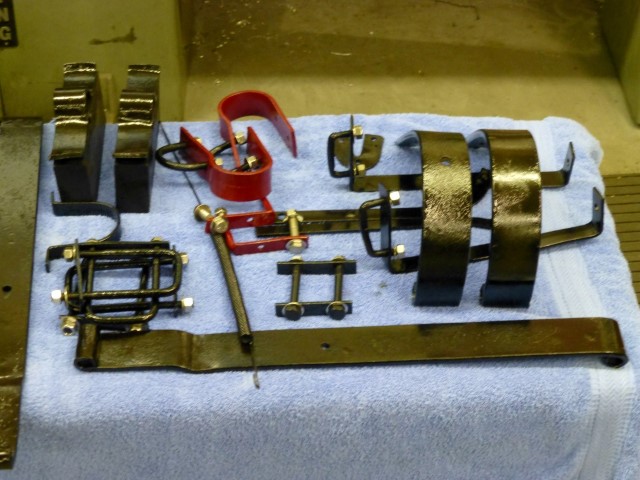
Here's some of the small parts that I did. I originally did the chassis parts in gloss black powder (as shown), but it showed the imperfections too much, so I sandblasted them again, and recoated them with a satin black finish. That was better.
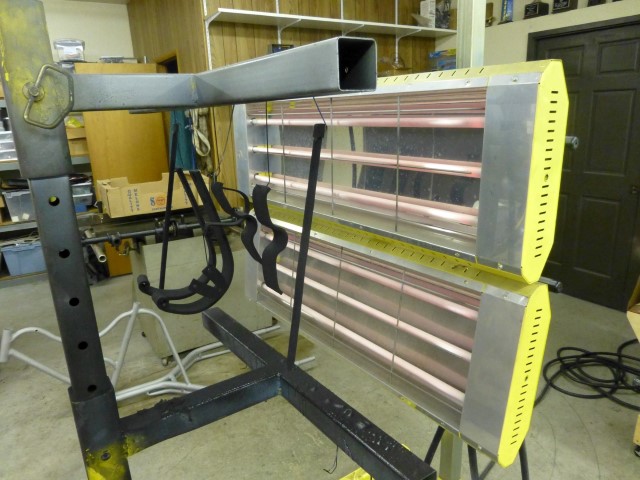
If you ever decide to do your own powder-coating, the Eastwood set-up works well. You sand-blast the parts, hang them from a frame, and spray on the dry powder which is electrically attracted to the metal. Finally, you use an oven or heat lamps to cure it at about 350-400 degrees for about fifteen minutes. You can't powder coat over paint, or obviously over parts that can't take the curing temperature.
Before sending the frame off for powder coating, I decided I better see if I could come up with a chain guard. I found one on E-Bay from a 40's bicycle, and made brackets to mount it. My welding has its up days and down days, and this happened to be a down day as I welded the front bracket to the frame. I was frustrated, but then I looked around at the original welds elsewhere, and realized it was better than any of those. Looks period correct!
Similarly, as I was making some replacement parts, it was tough to stay with the original plan of parts that looked hacked off rather than cut and radiused. I cheated a couple of places, couldn't help myself. Interestingly, the fasteners are all standard SAE. That made things easier.
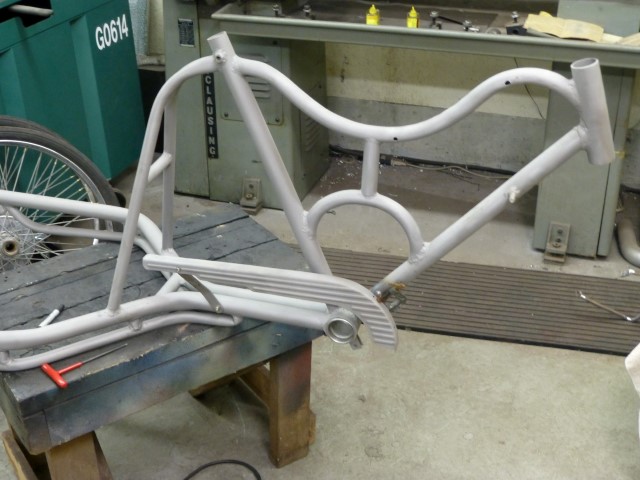
I was finally ready to have the frame powder coated, and in a few days it was back. Meanwhile I've been refurbishing other parts. This is when the real fun begins!
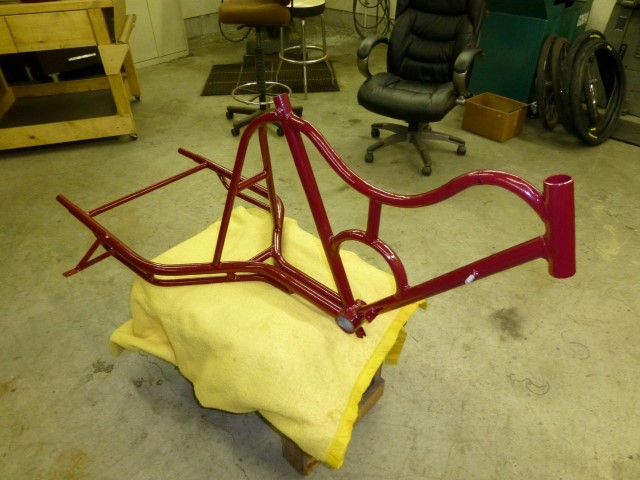
Here's the rear end installed. The seller was correct that modern bike tires don't fit these rims well, but I found some real pedicab tires with the correct bead on eBay. Someone had a batch made to use on modern pedicabs, and had some extras for sale. Major score. You can see the drum brakes on the back. The brake shoes were OK, but the linkage was pretty shot. I made new parts as necessary to replace the worn out ones.
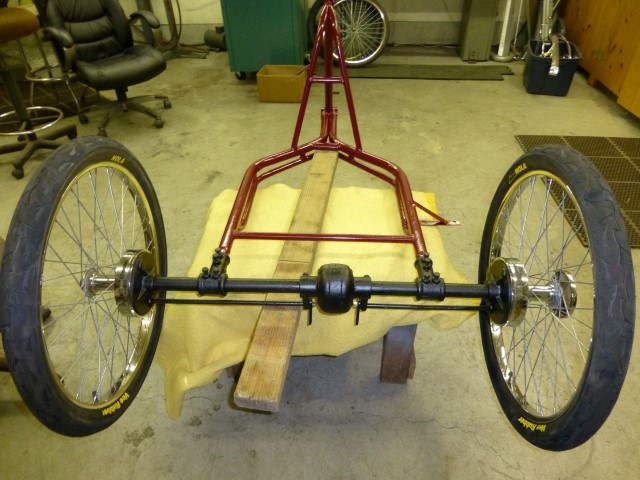
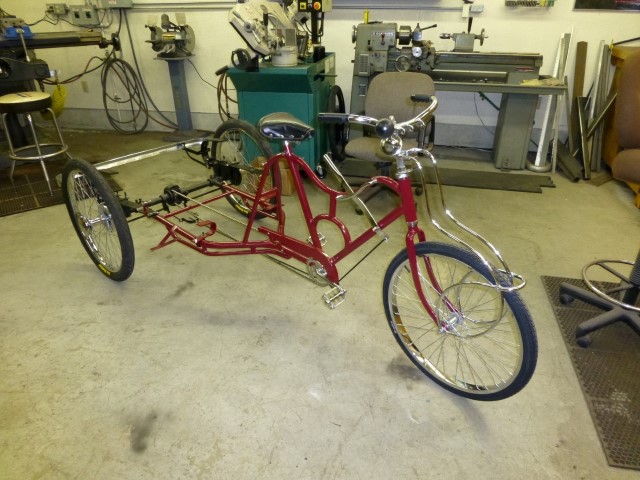
Here's the chassis about all done. Look how long that chain is! It's the original chain. It looked pretty bad, but I cleaned it up with gasoline, then cooked it in a pan of motor oil on the stove for a while. That makes the oil really thin so that it gets absorbed into the chain if you "stir" it once in a while. Sure makes the kitchen smell bad though. I found a replacement seat like the one that was on it.
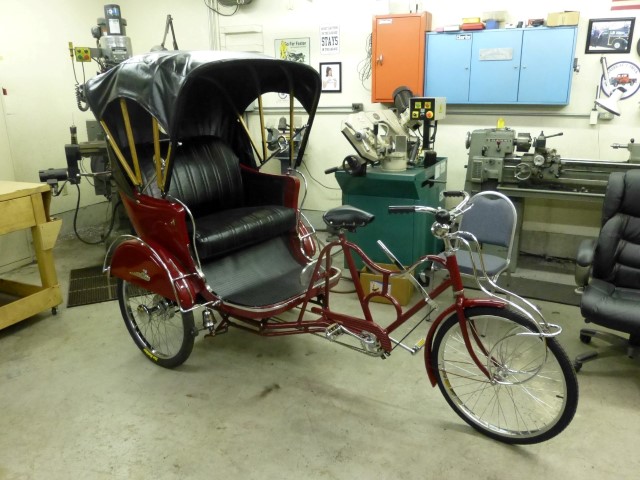
The big day arrived when we brought the body from Mark's shop and bolted it back onto the frame - looking good!.
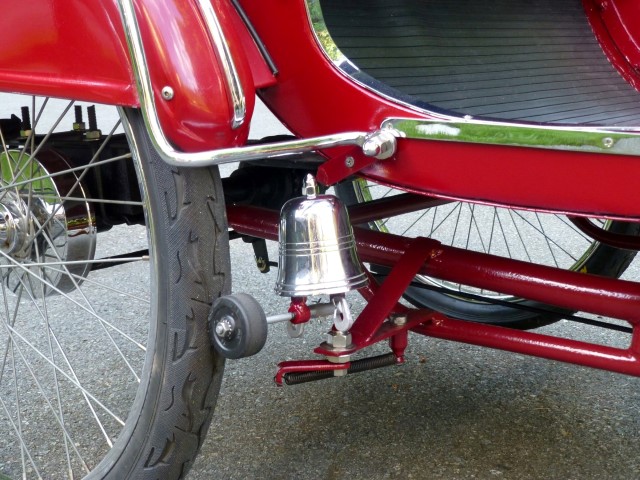
One of the charming things on the pedicab was a bell that was designed to chime as the pedicab went along. A rubber roller was driven by the rear wheel. Unfortunately, it was really shot, and missing the clangers to boot.
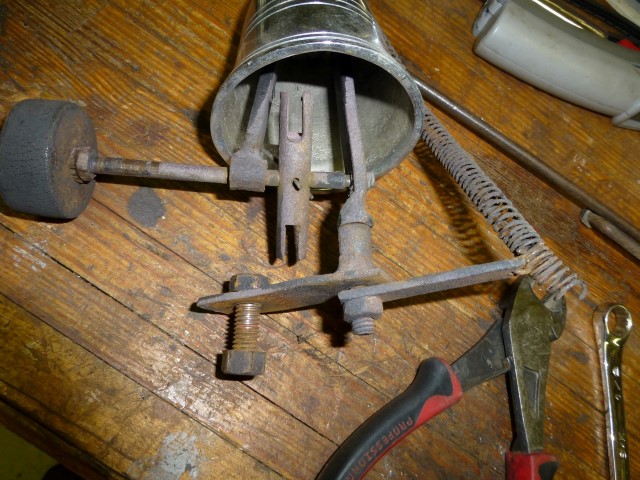
I fabricated a few parts and set it up so that an over-center spring could allow it to either be against the wheel, or be disabled easily. It took a little experimenting to figure out how to make "clangers" that worked properly without knowing what the originals looked like.
These two ID plates are on the back of the body, this is how they looked when we got the pedicab...
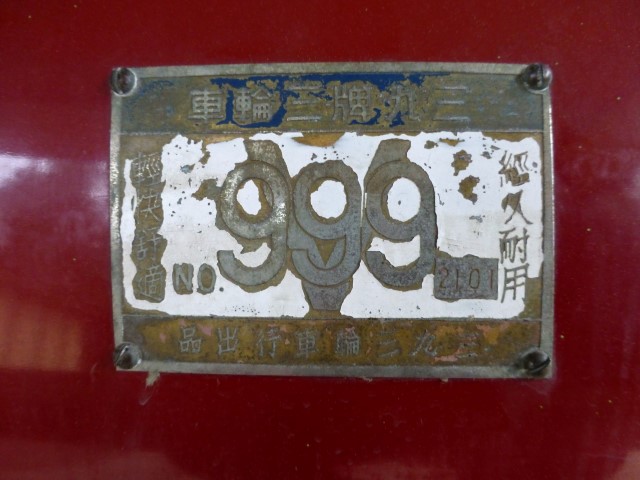
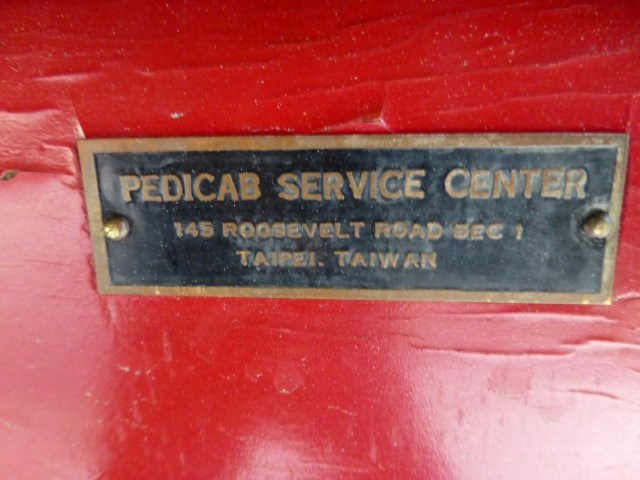
Then Mark worked his magic on them.
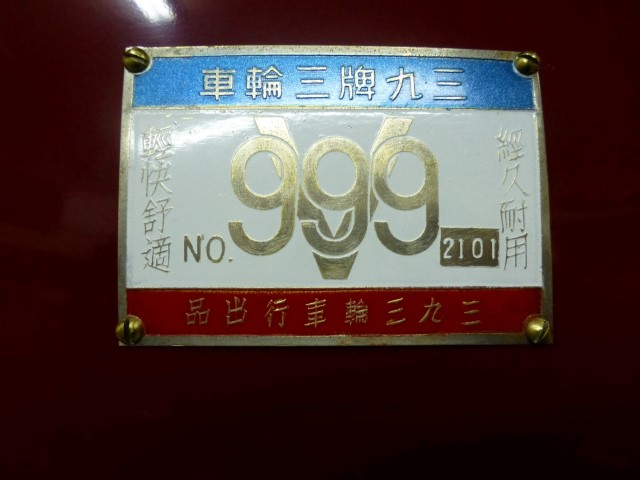
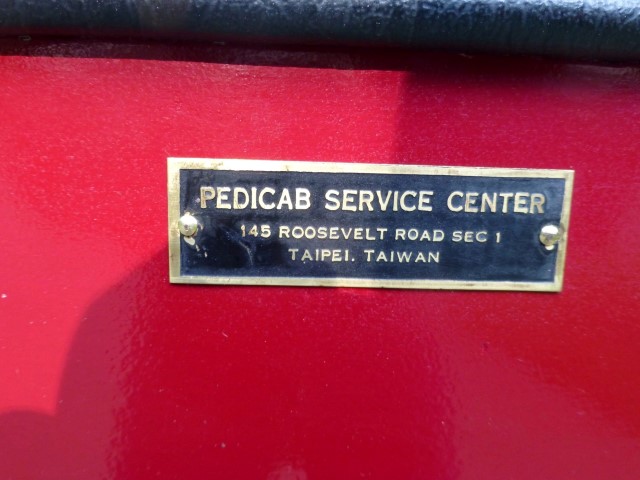
Here are random shots of the finished project...
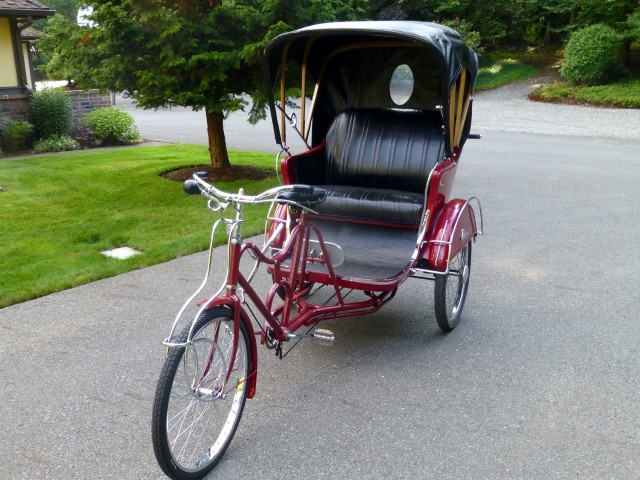
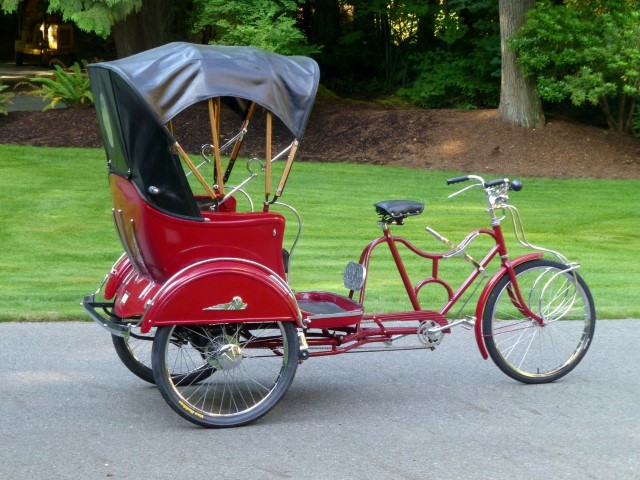
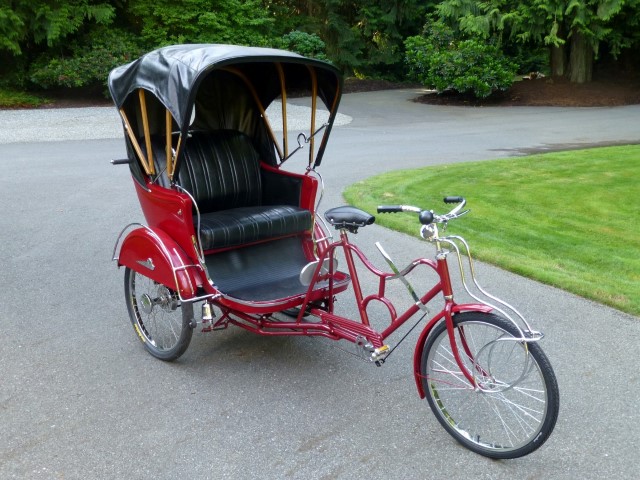
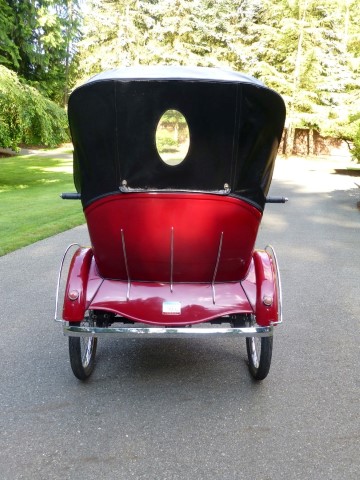
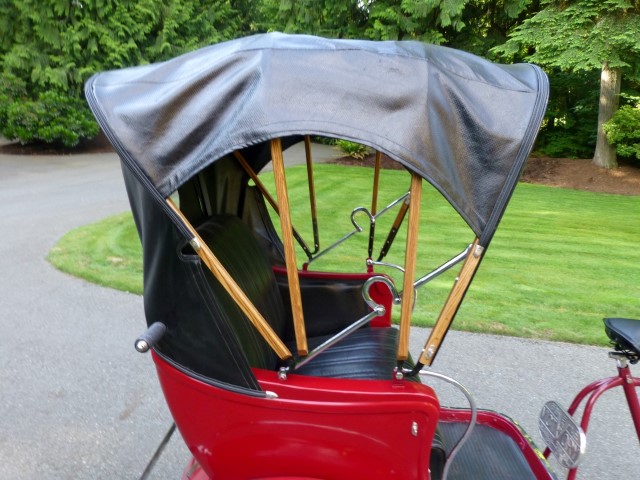
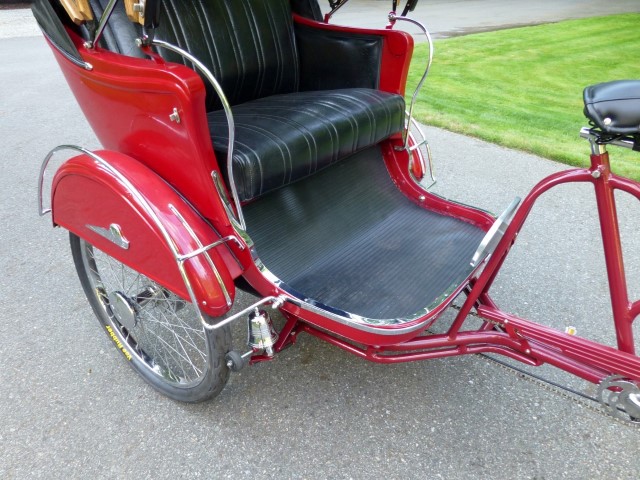
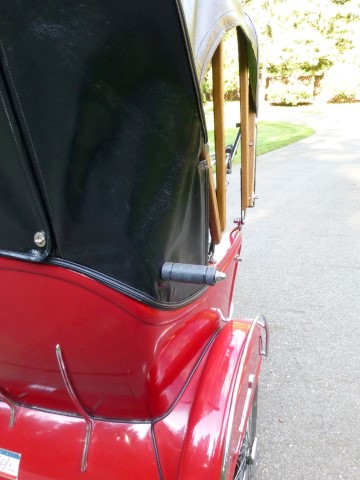
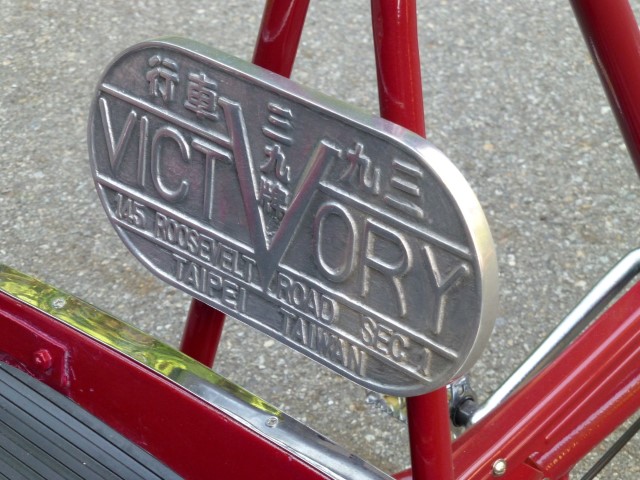
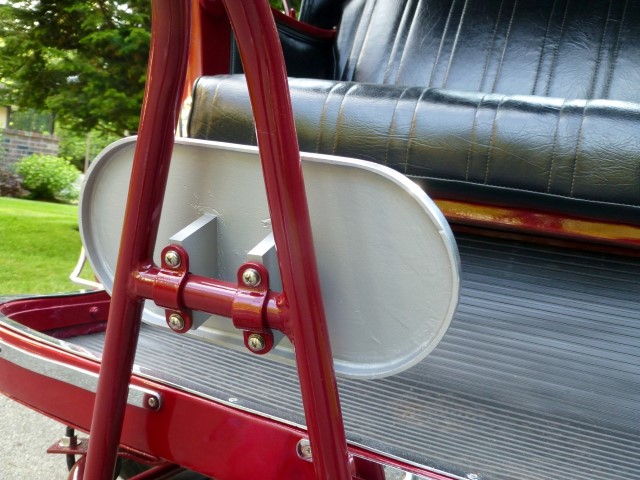
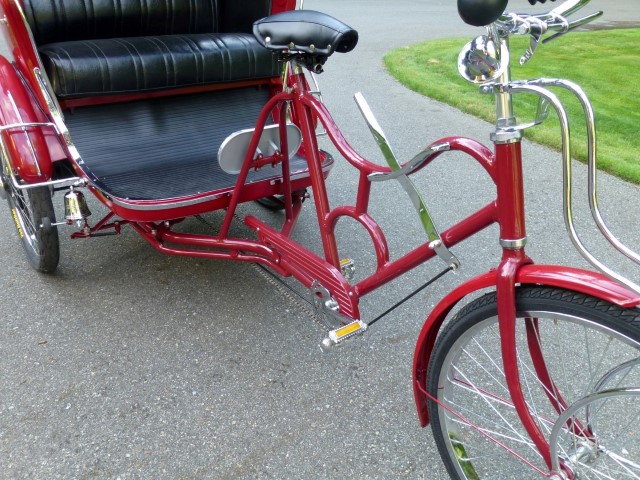
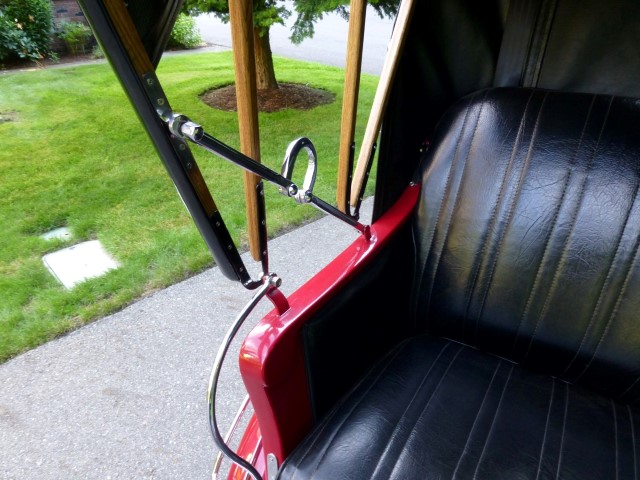
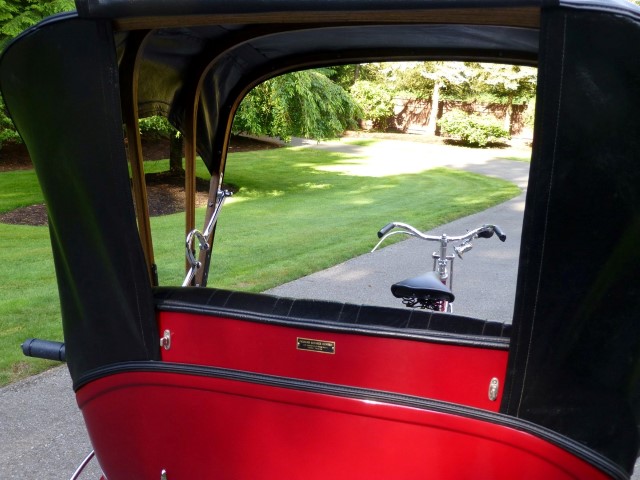
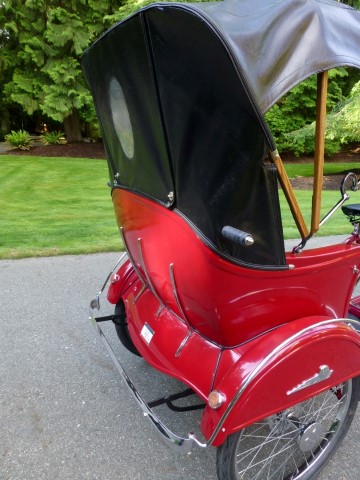
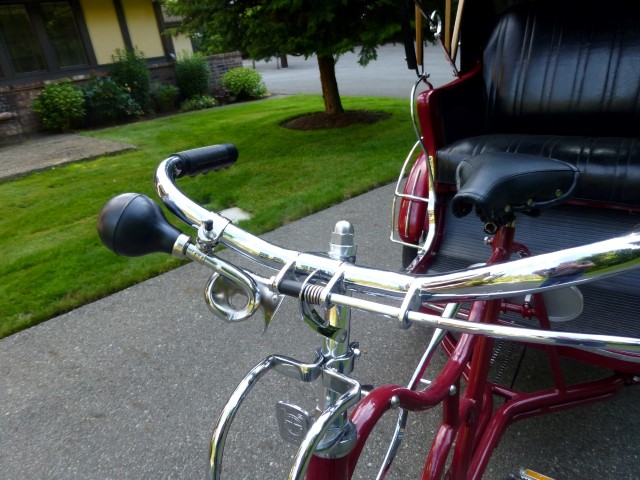
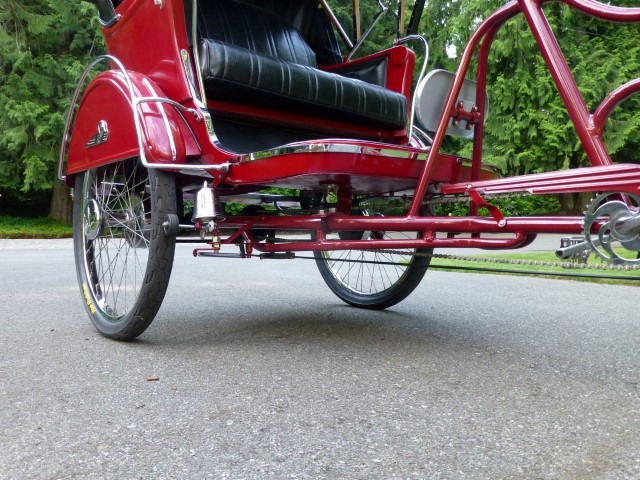
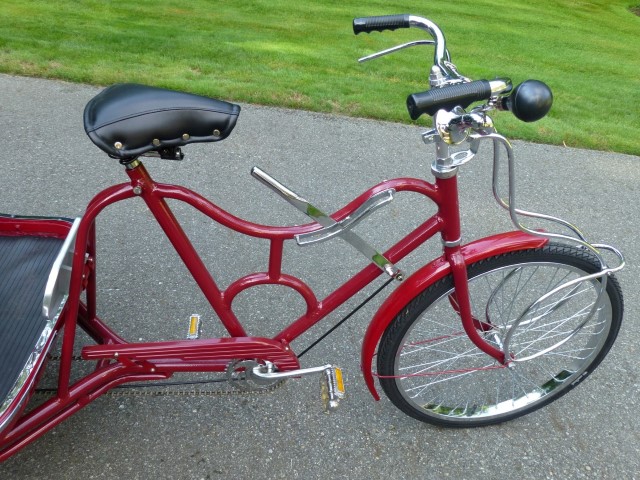
This was a fun project. Not overwhelming, but enough to have things to do when there is time to sneak out to the shop. My thanks to Mark for his great help on the project.
The only remaining task is to install a front brake. The original was missing. I've got a drum brake on order, but it's going to take a month or so to get here, then I'll fabricate the missing linkage and be done. I read on a pedicab forum that there were lots of different brake set-ups on pedicabs around the world, but none of them worked very well. I hope this one does.
I'm not sure what I'll do with the pedicab, I just like it. For now it's sitting on my covered patio so I can enjoy looking at it. I suppose at some point I'll let it go. Would be perfect for weddings, photography settings, advertisement for restaurant or cycle shop - or even to use.
After it taking up room for a couple years, and not being used, I decided to let it go to someone who would use and appreciate it. To get it ready to sell, I installed the new front brake and operating linkage as the last detail needing attention, then listed it on eBay.
It went to an interesting use. The buyer, from New Orleans, had a mother in Connecticut who had just passed away. Her mother loved New Orleans, so she had the pedicab shipped to Connecticut to be used in a New Orleans-style funeral for her mom. After that, it was planned to ship it down to New Orleans to continue its life. I'm glad that I gave it a second wind in life. If you see it sometime in the future - let me know!