
While I enjoy crabbing out on Puget Sound, my brother-in-law loves crabbing even more. Unfortunately, some health issues have made it hard for him to pull traps any more, giving me the perfect opportunity to come up with a crab-puller davit system for his SV1650 Lund. It sounded like a fun project, with a good purpose.
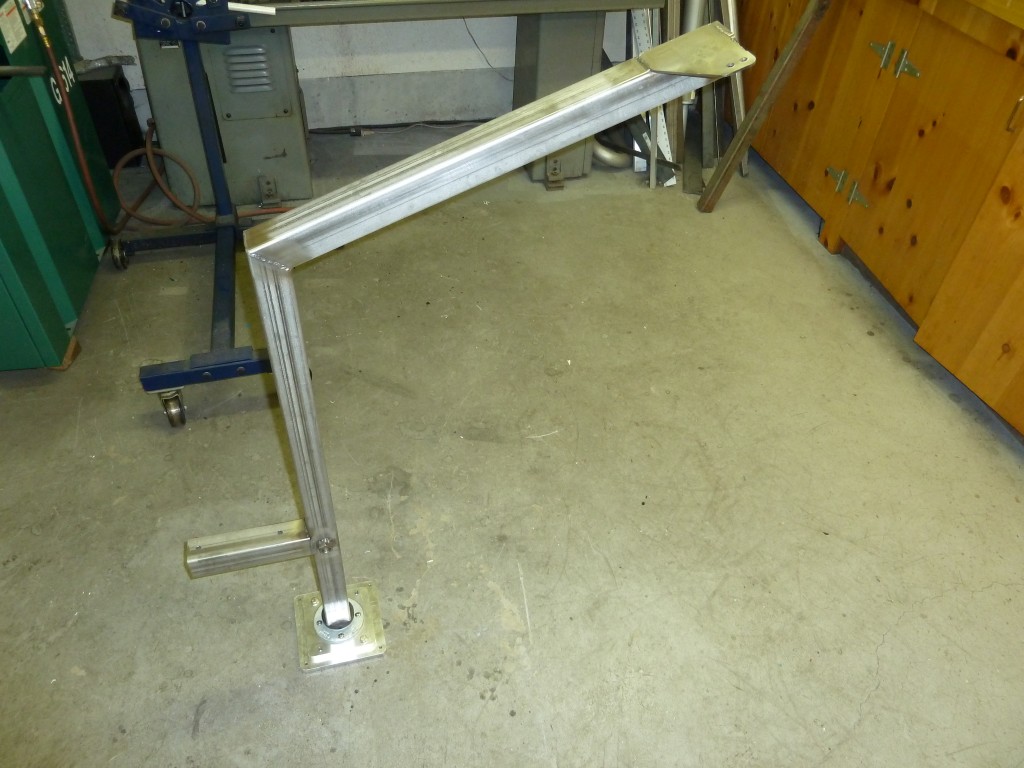
Heres what I built:
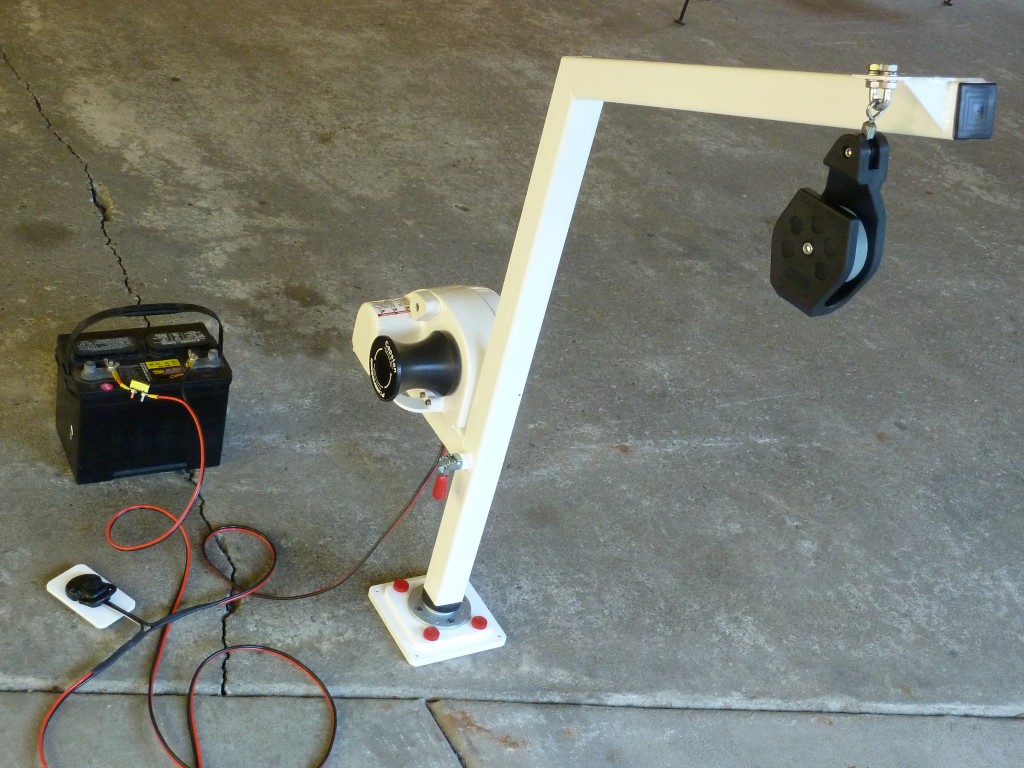
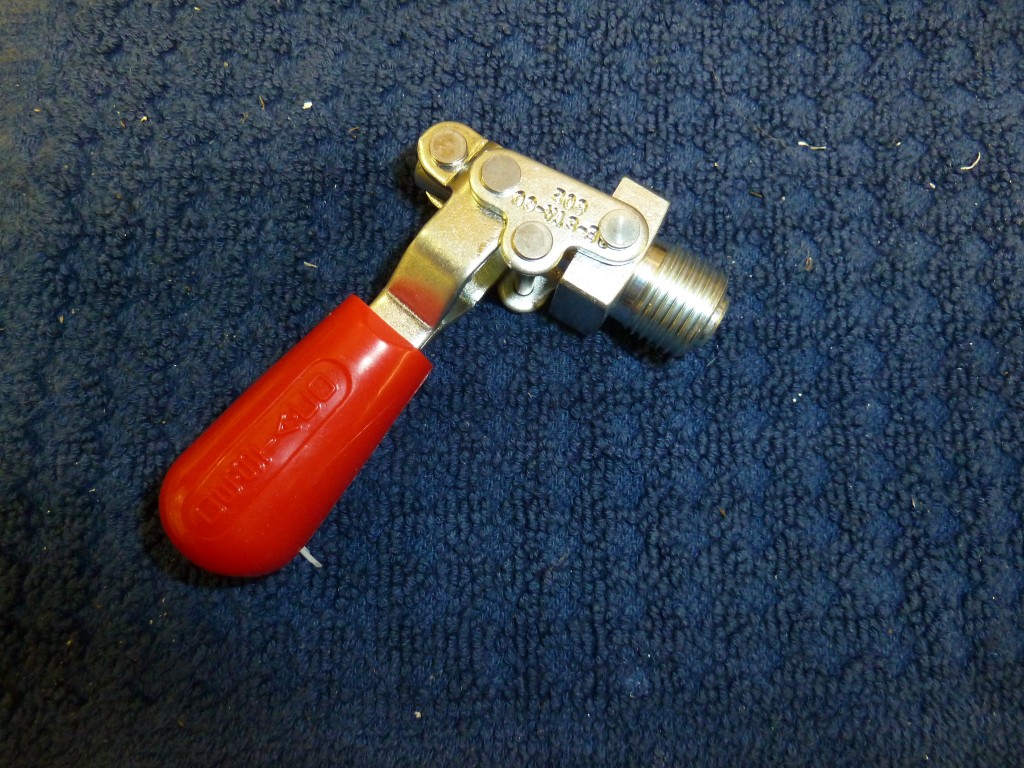
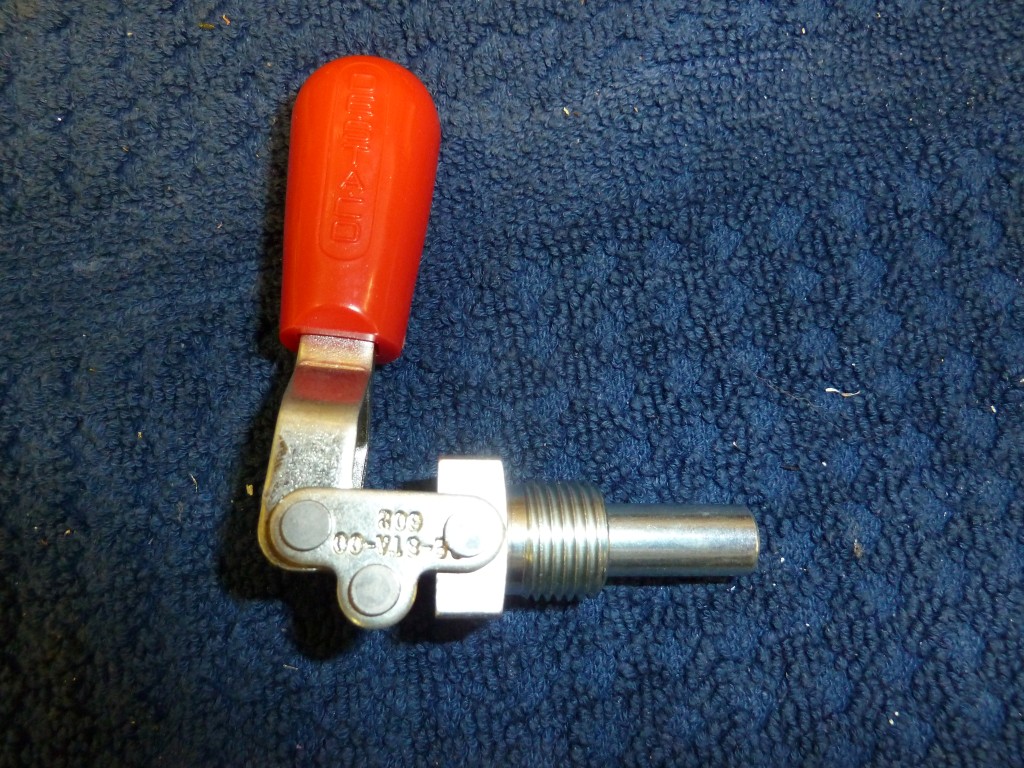
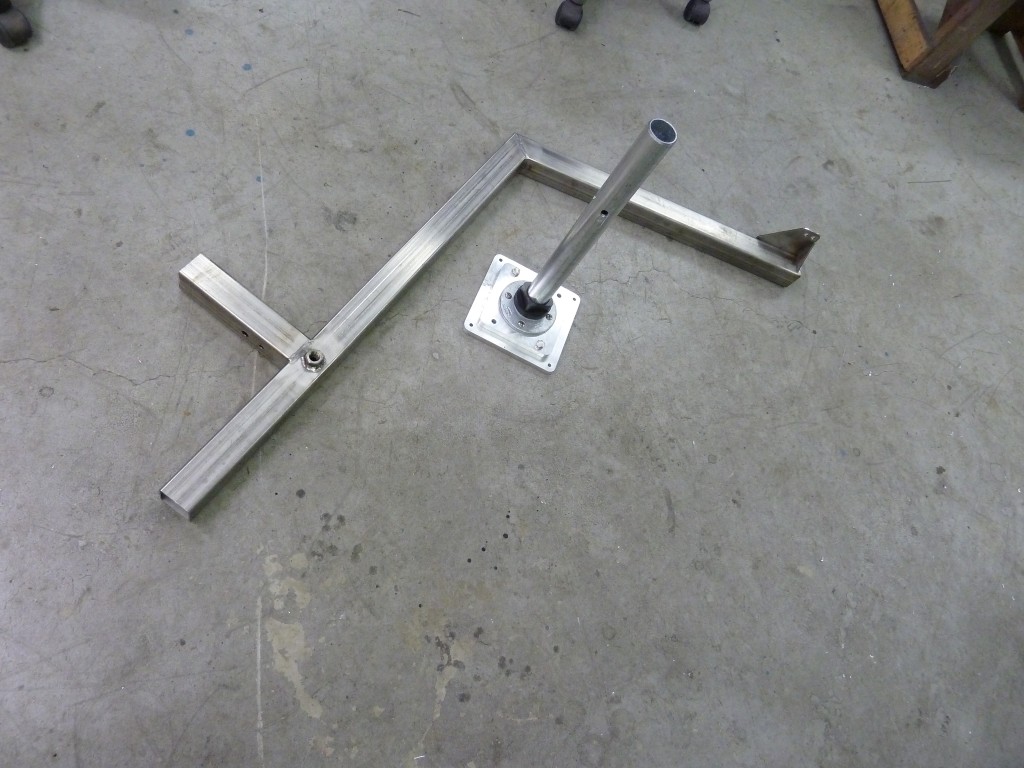
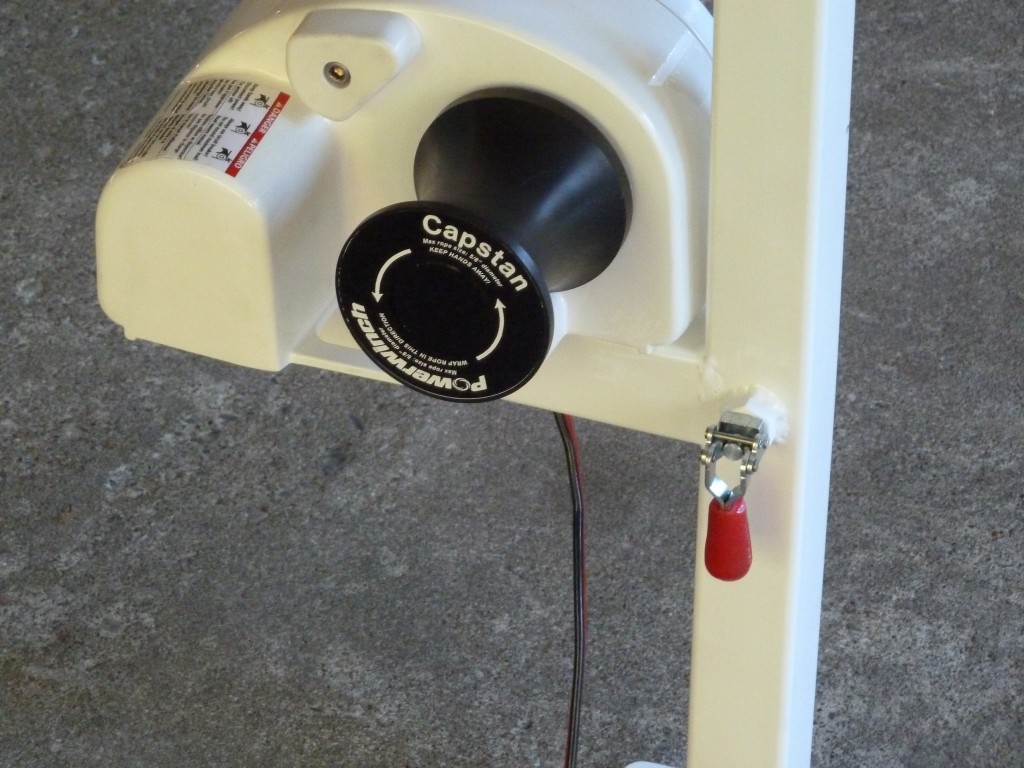
To give you an idea of the size, the mast is 36" high, and the boom is 26" long. It's designed so that it bolts to a side-deck on the boat with a mounting plate. The davit attaches to the mounting plate with four thumb-screws. The bolt pattern I used is common to many Scotty down-riggers, so potentially it could be mounted directly to that. Just below the capstan is a red lever that you pivot up to release, and down to lock. This allows the davit to be locked into four positions, 90 degrees apart. A foot switch turns on the capstan, and the wiring connects directly to a 12V trolling motor battery.
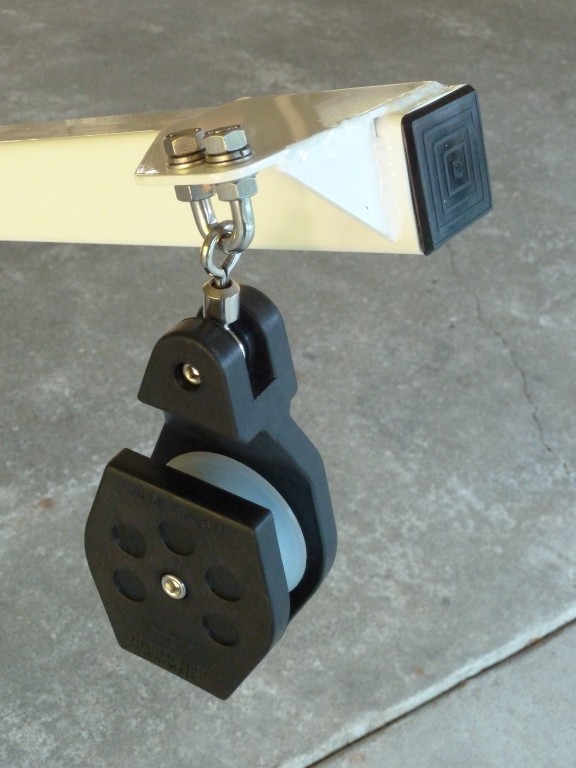
The pulley at the end of the davit is open on the top of one side, so the line from the crab pot can be easily placed over the pulley. Then, a wrap or two is placed around the capstan, with the end of the line (and the crab-pot floats) on the deck of the boat. Then the foot switch applies power, and you guide the incoming line onto the deck. The friction of the rope on the capstan does the pulling for you.
It will pull up to 300 lbs, and retrieves at 85 ft/minute.
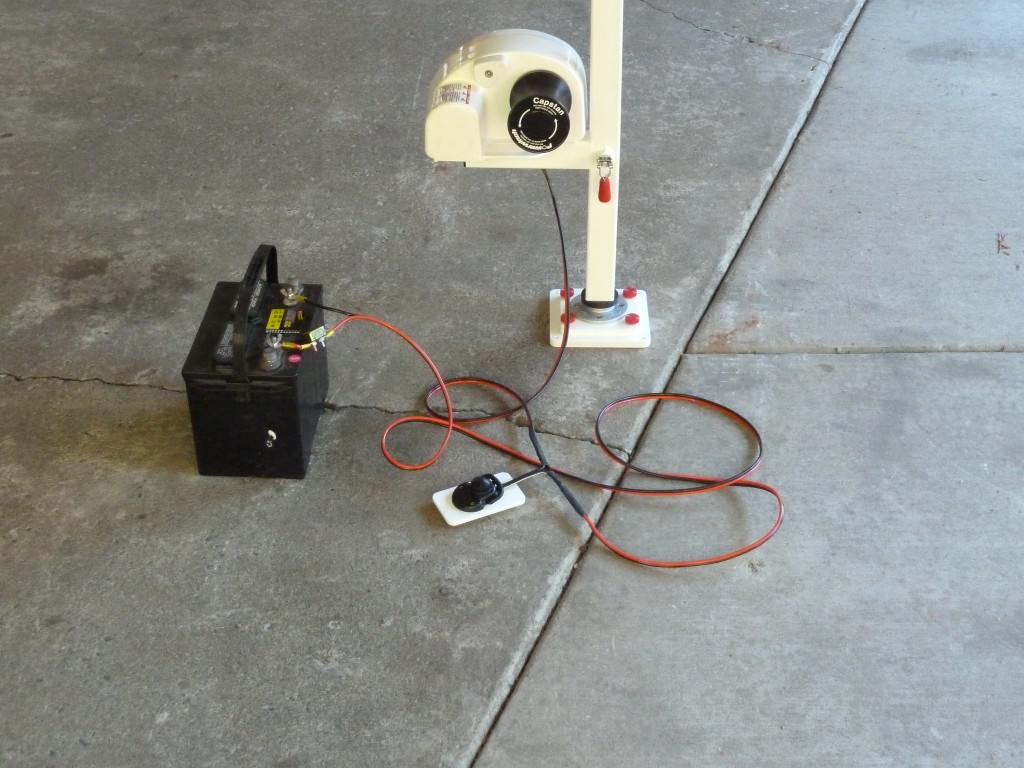
When I first started looking around, I thought that this project might not be feasible because of the expense of capstans. My first try was a used capstan windless from eBay. It was a little larger than the one I used in the end. When the shipment arrived, I connected it to a battery through an ammeter, and was shocked to find out that it used about 30A with no load. Fortunately, the seller agreed that this current draw was too high, and agreed to take it back, although I had to eat the shipping both ways - he wasn't that convinced it was a problem.
I then found a fresh rebuilt Powerwinch 300 on-line (from the manufacturer), and it is perfect for this purpose. It was about a third of the cost of a new one, and looks and operates like new.

With my trusty ammeter, I discovered that it draws about an amp or two no-load, and is fused to 25A at maximum load. So, with 25% load (75 lbs), I figure it uses about 8 amps. A trolling motor battery typically is 120 amp-hours, so if half of that (60 AH) is usable, the capstan should be good for about 7½ hours of use on a charge. That's a lot of pulling. If it ran 7½ hours at 85'/minute, you would have pulled over seven miles of line.
This is a project that begs for being designed around parts that you already have. I had some chunks of Delrin for the bushings, some aluminum plate for the bases, and some chunks of stainless plate kicking around, and that helped keep the cost down.
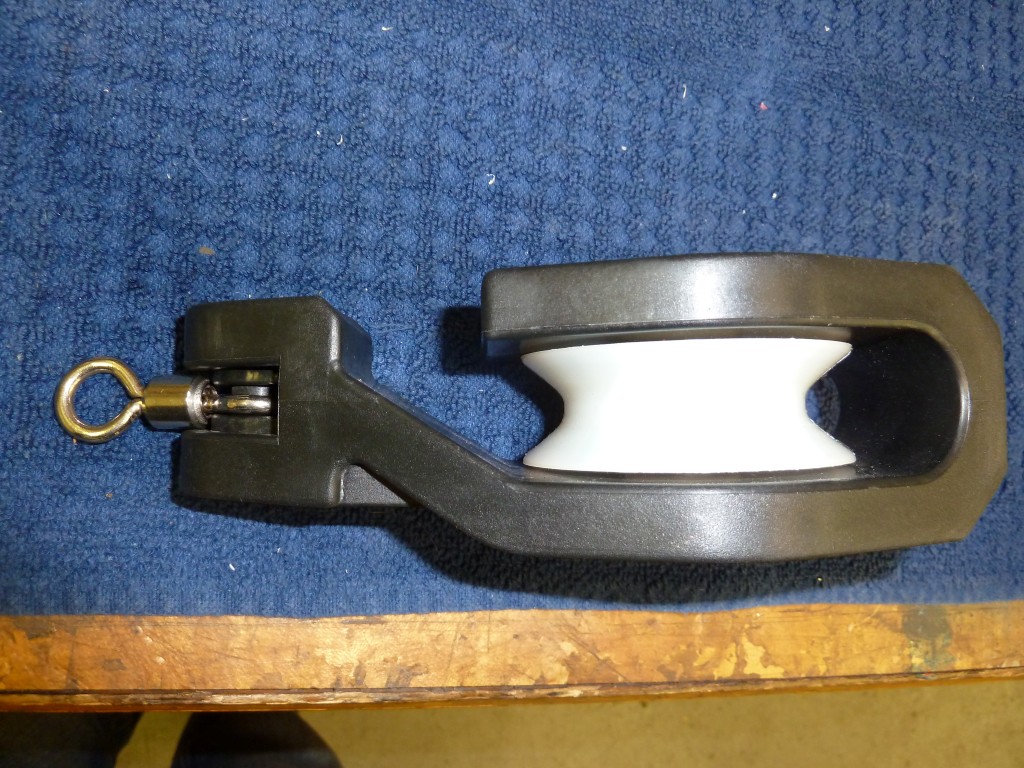
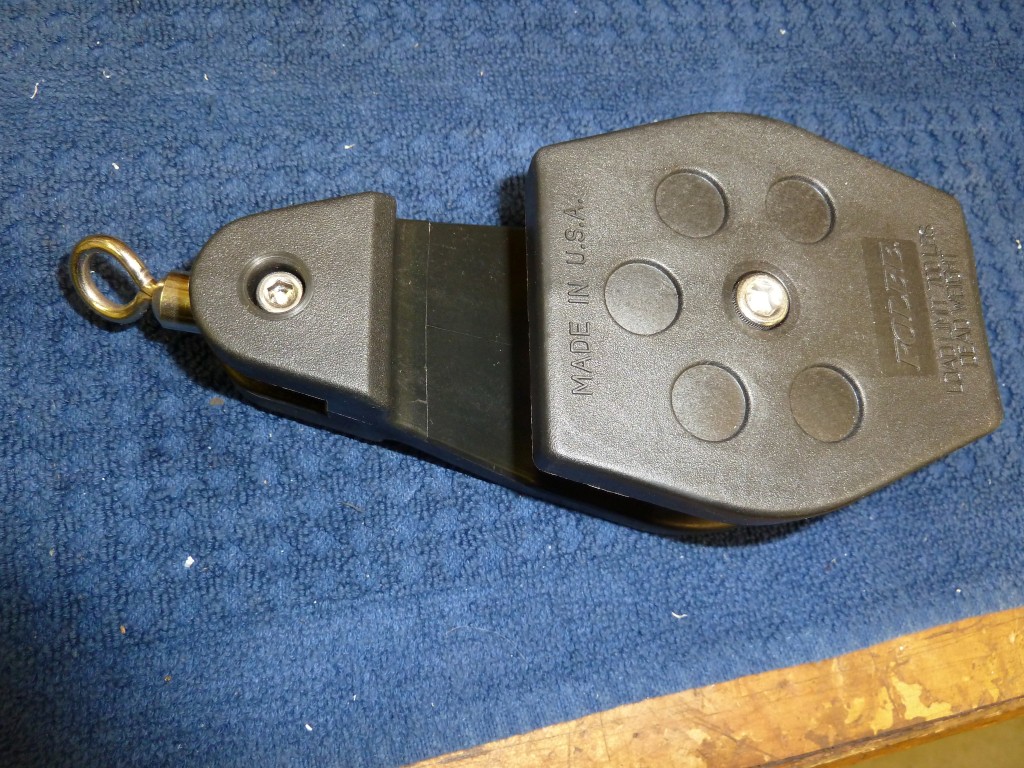
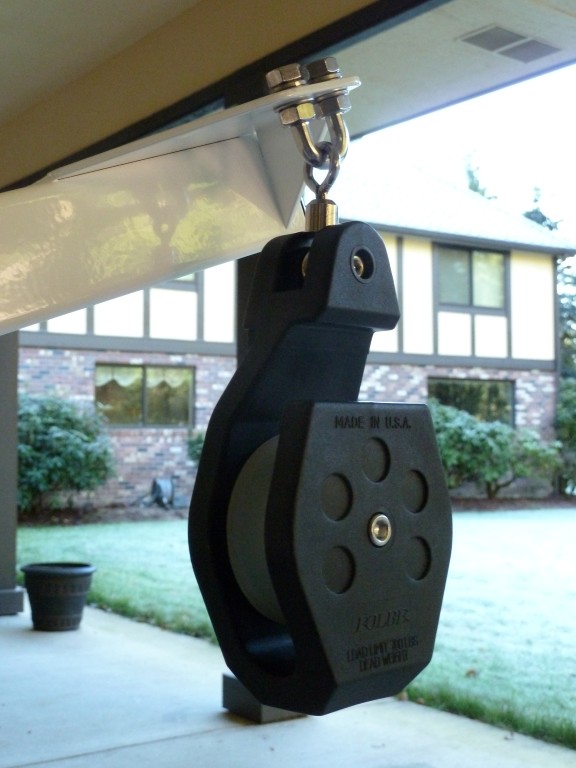
The special pulley at the end of the davit is made by Folbe (Model F008). It is available on-line, and I also saw them for sale at a local sporting goods store. It is good for 700 lbs of lifting, and is made of salt-water proof materials.
I found the De-Staco style toggle-latch for locking the mast at McMaster Carr (PN 5093A56). There's yet another part number if you want it to be all stainless (PN 5093A72), but it's expensive. I ended up replacing the original non-stainless latch with a stainless version since it rusted up after a couple of years use.
McMaster also carried the correct plastic end-caps for the square tubing (PN 9565K18), and some of the stainless nuts and bolts I used on the project. On the end-cap by the capstan, I drilled a hole through the end-cap for the wires.
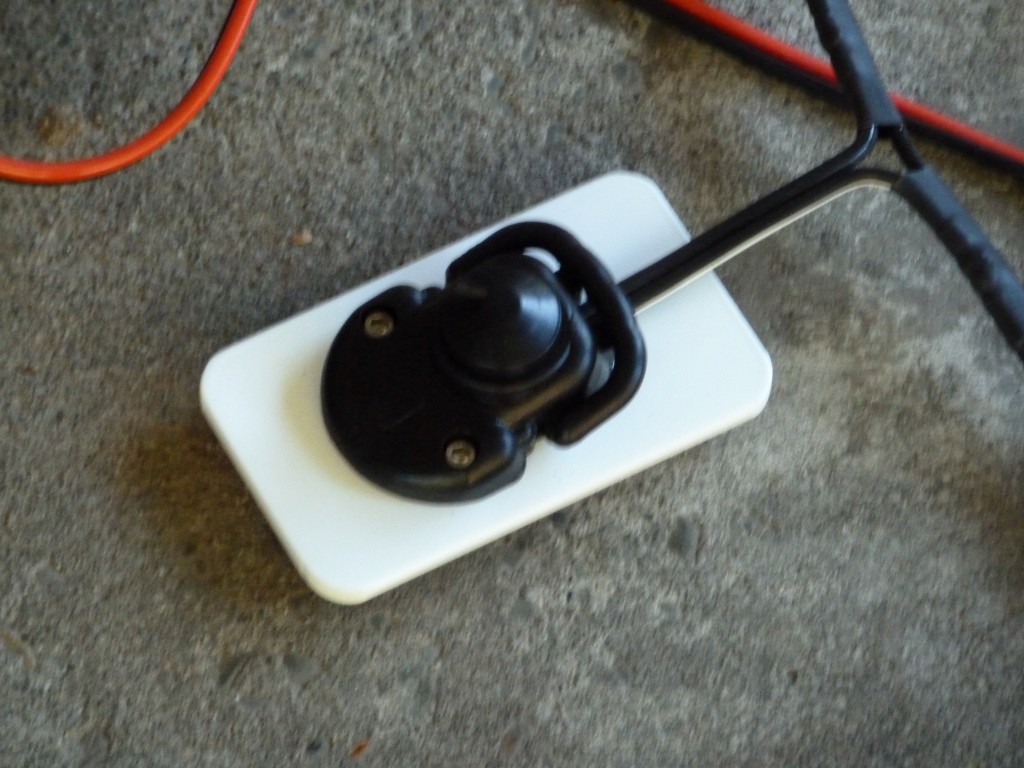
I bought the foot-switch on-line, it is a SeaChoice PN 50-28101, good for up to 50A - more than necessary. You can pivot the loop over the switch if you want to set it for constant on operation.
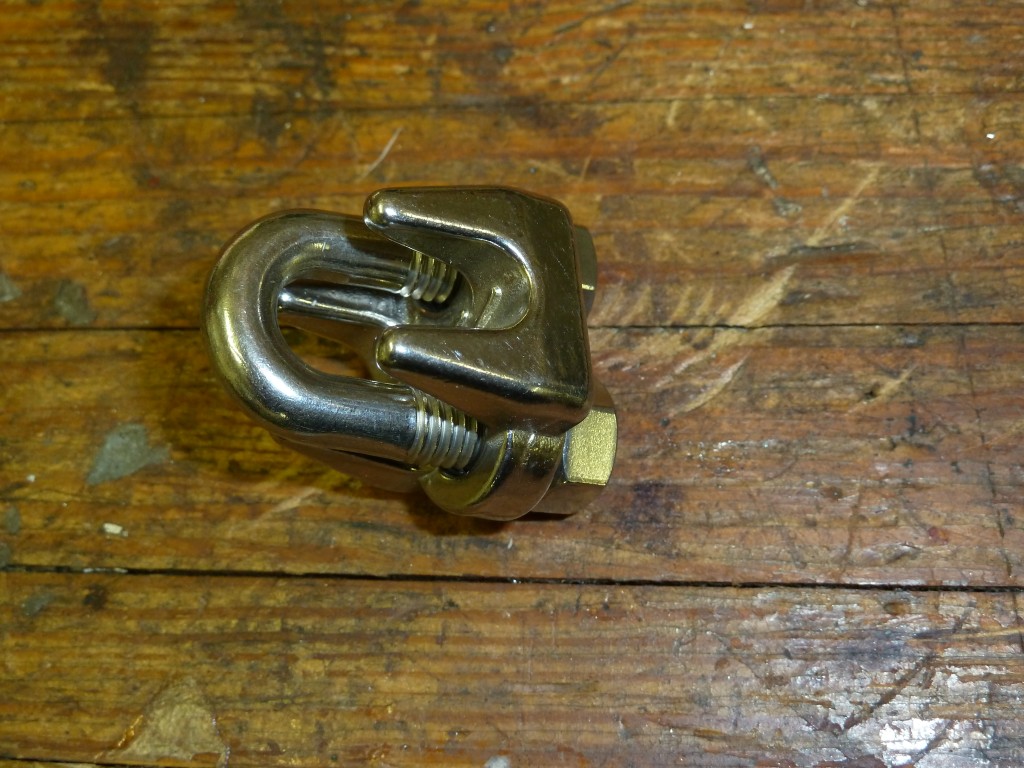
The stainless U-bolt that holds the pulley to the mast is from a clevis clamp that I got at McMaster for an earlier project. Surprisingly, it had metric threads.
The nice, flexible 10-2 wire came from McMaster too (PN 9697T51).
The square tubing is 2" stainless by .083" thick, that I ordered in from Alaska Copper and Steel in Seattle.
The 18" chunk of 1¼" galvanized pipe and flange came from the local Lowes store.
Now that we have all the parts, time to roll up our sleeves and start fabricating. Let's start with the base.
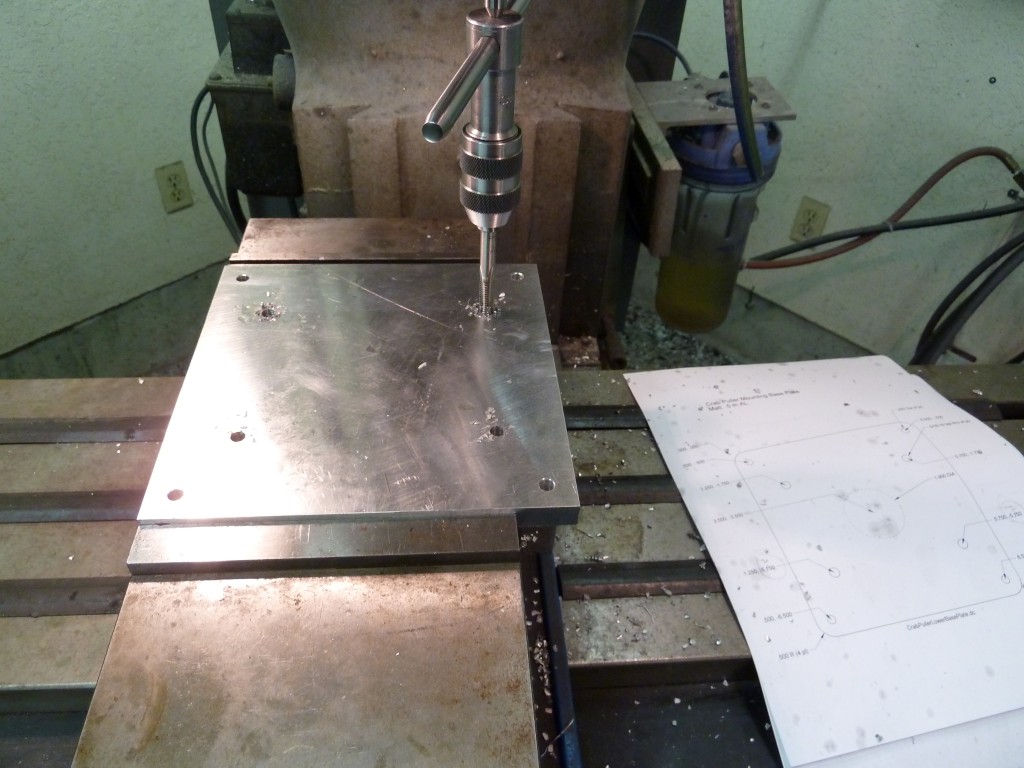
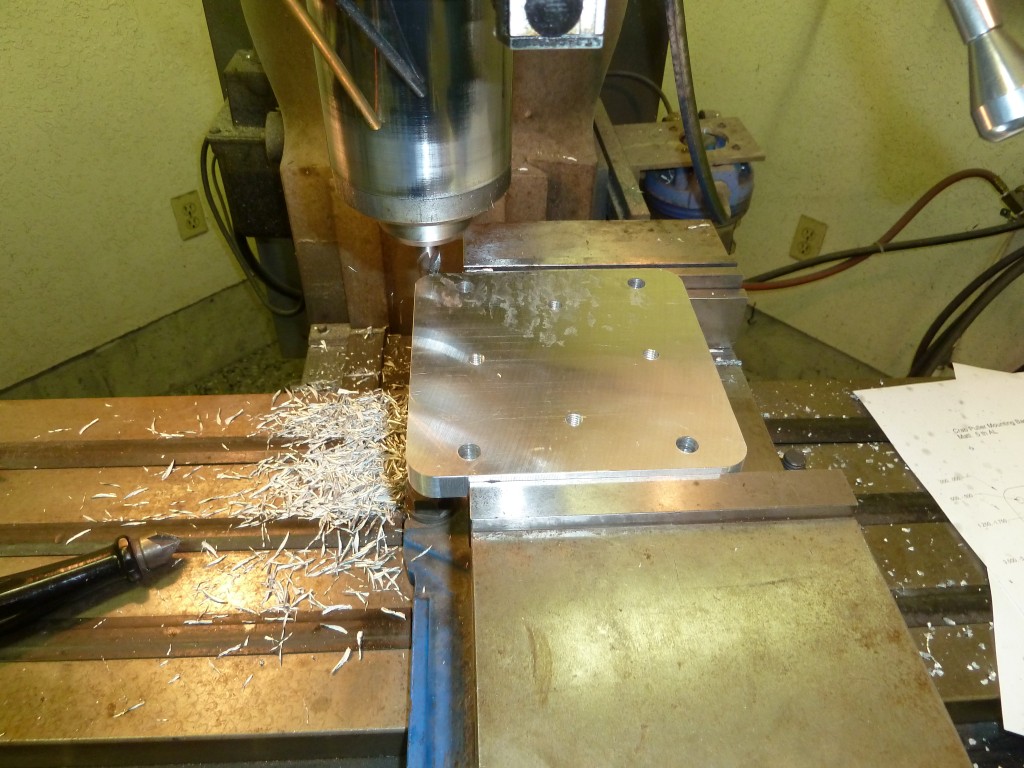
Here, it's a matter of making two base plates. I used ½" thick aluminum stock from my scrap bin, then cut, drilled and tapped as necessary. If you are going to mount your davit to an existing down-rigger mounting plate, you won't need the larger bottom plate. By the way, if you poke around in this write-up, you will find drawings with the dimensions of each part I fabricated. You might want to modify based on your materials and application, but the drawing are a starting point. I tried to use stainless, aluminum or plastics when ever possible, and when not price-prohibitive.
I'm lucky enough to have a milling machine, but these plates could be made without one - it's just a matter of cutting, drilling and tapping. The bushings would be harder to make without suitable tools.
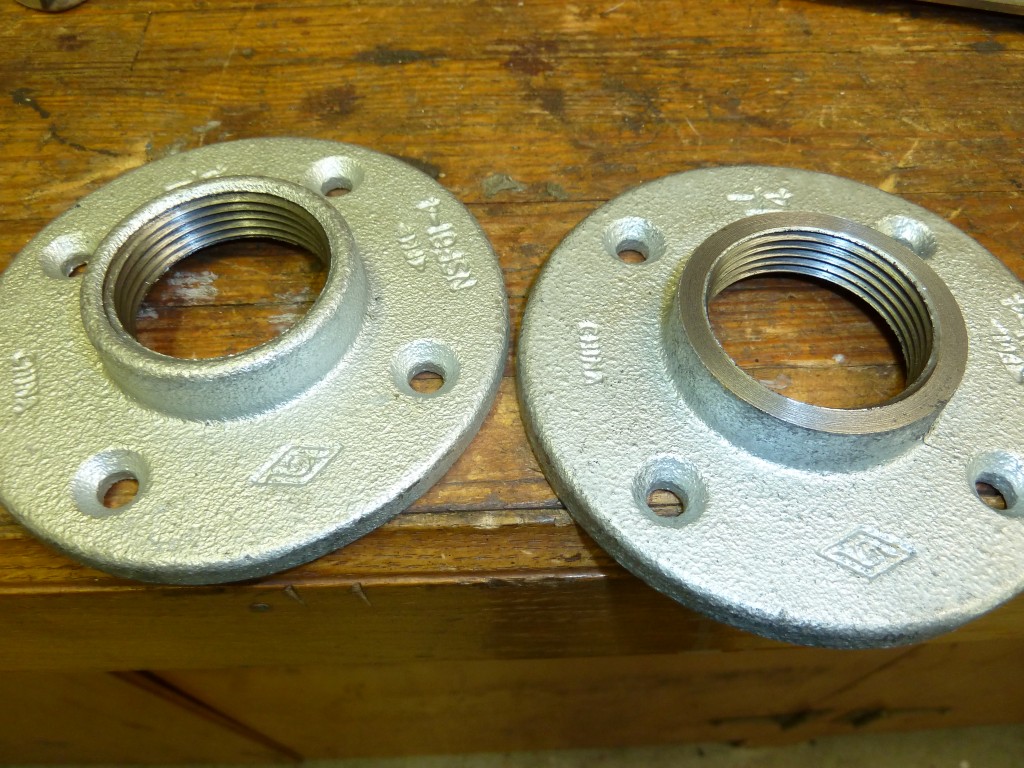
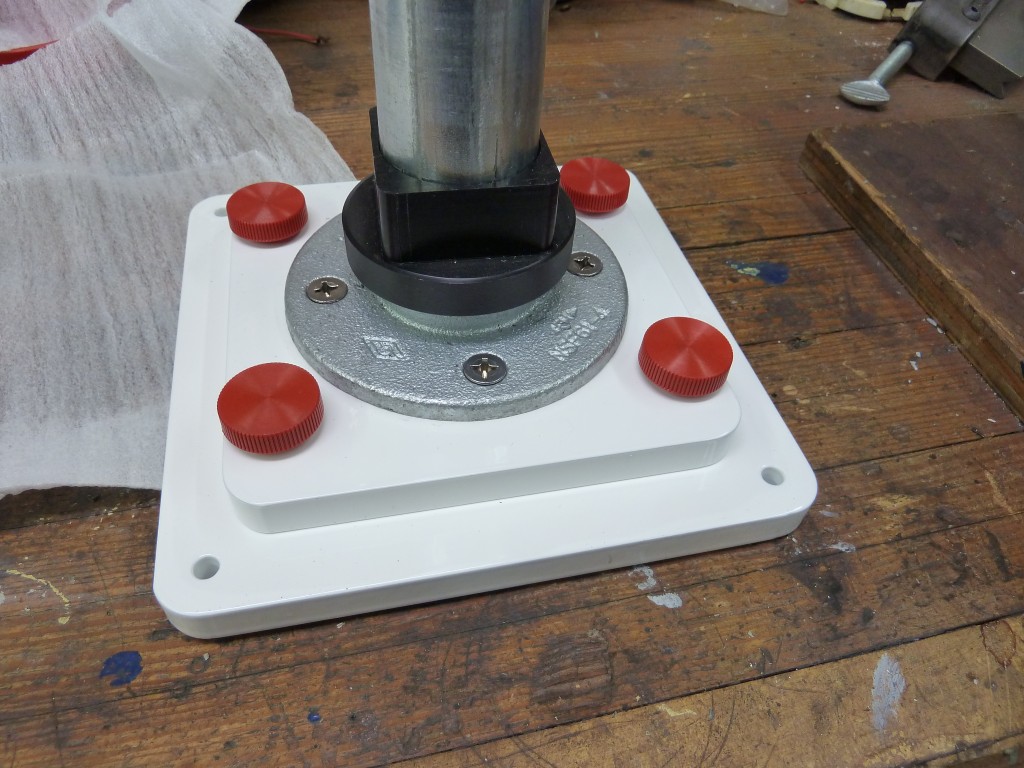
The flanges at the bottom are just standard galvanized plumbing stock. Since a Delrin bushing will be riding on the lip of the flange, I flattened it out a little (see the one on the right) to give more bearing surface.
Next, I machined up the Delrin bushings. One for the bottom of the mast (the black one), and one for the top. I suppose you could get by without the top one since the size of the pipe isn't all that much smaller than the inside of the square tubing, but it would be metal-to-metal, and not that smooth to operate. Note that the top (white) bushing was a little of an installation headache - I discuss at this at the end. Here are the completed bushings:
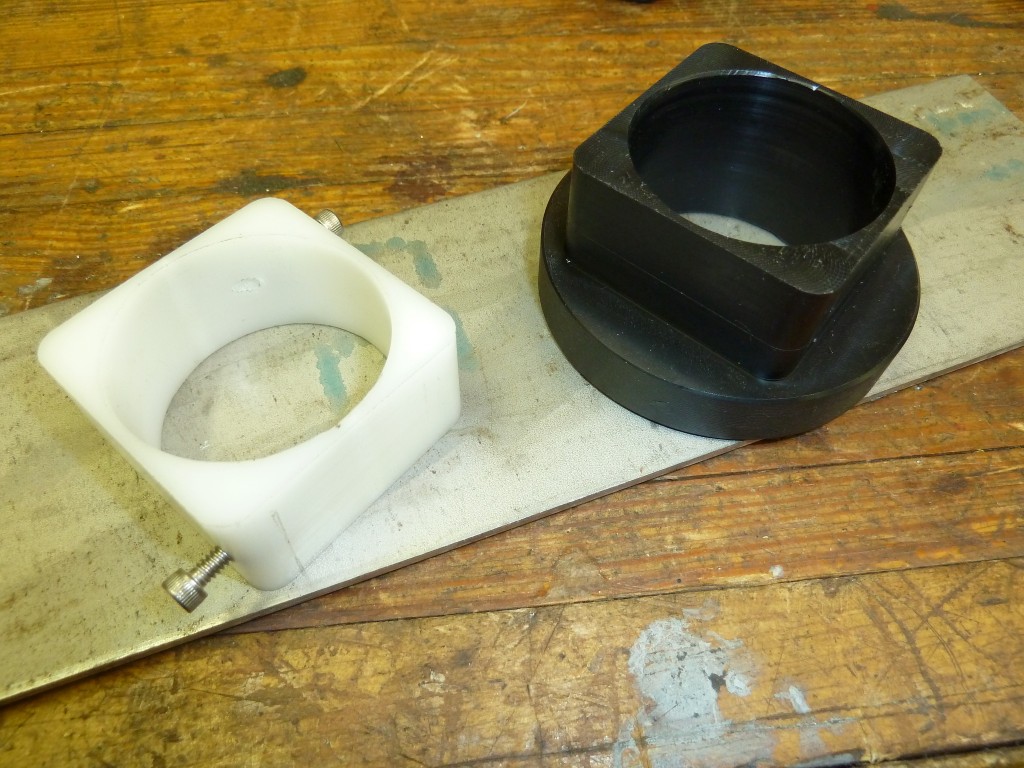
I love to machine Delrin. It is so forgiving, it can even make me seem like a competent machinist.
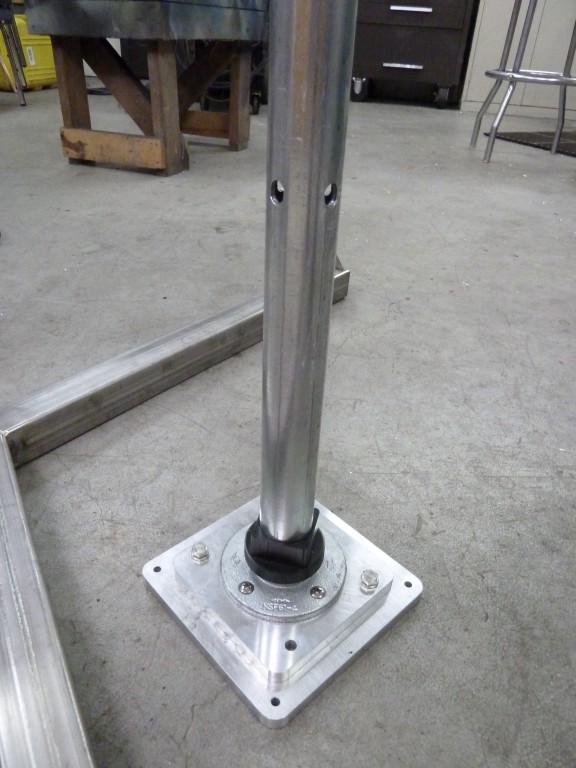
This shows how the flange fits between the lower plate and the 18" x 1 ¼" pipe nipple, and also with the lower bushing in place. When I attached the pipe nipple to the flange, I used JB-Weld (epoxy) to make sure that it doesn't spin loose from the side pressure of the davit arm. In this picture, you can also see the holes where the toggle-latch locks the arm in place. I made these as slots so that the height doesn't need to be exact. However, I still made the measurement after screwing the pipe into the flange, since that's an inexact science. At least in this case, we don't have to worry about leaks. That's the kind of plumbing that I like.
Making the mast is easy. Just cut the square tube off at the angles you want, drill a few holes, and weld it up. I used stainless rod in my welder, and it welds very easily.
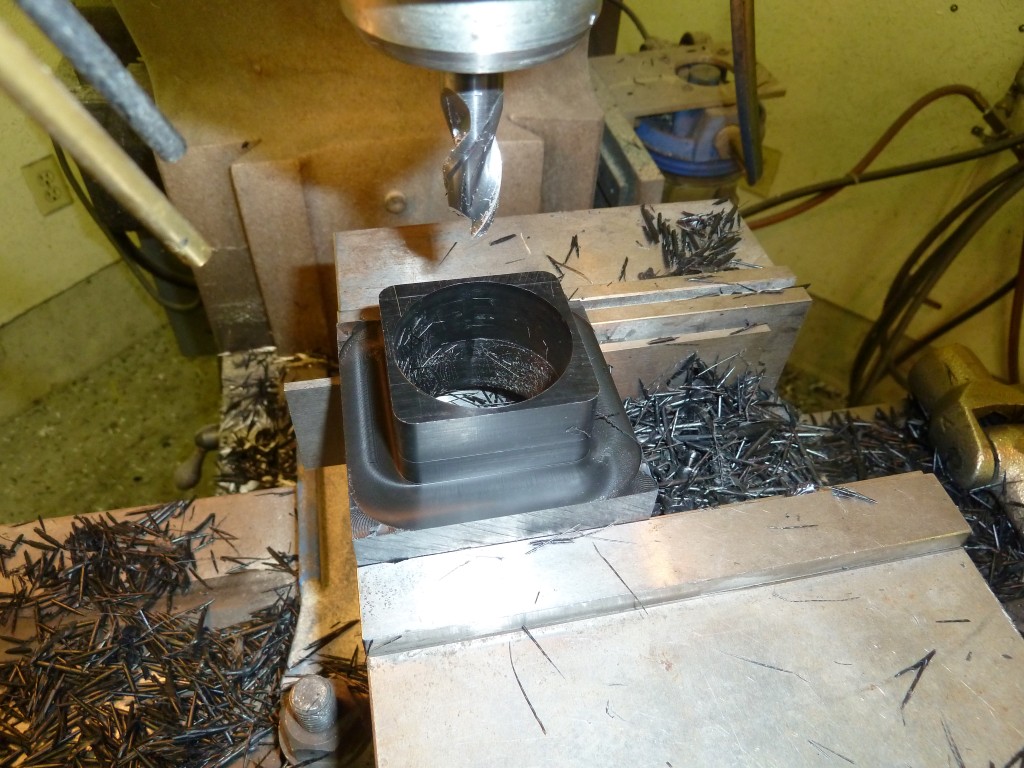
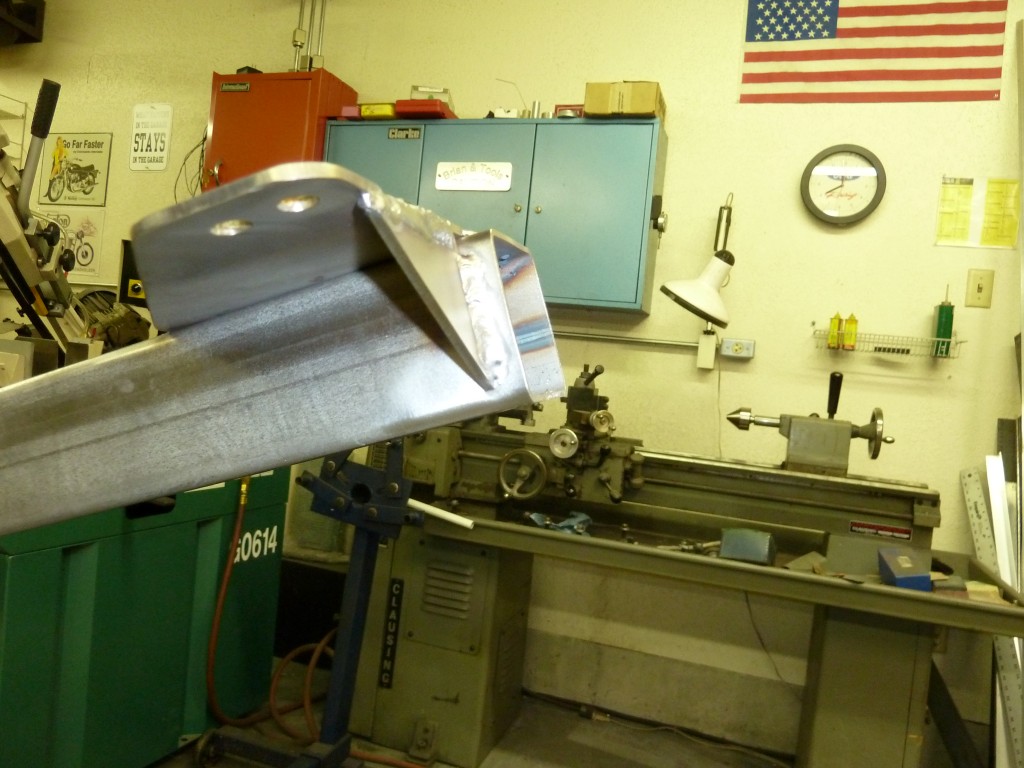
The end of the mast looks like this when welded up. This 1/8" stainless plate is pretty tough, but I decided to put a gusset on it anyway. The bracket aligns the center of the pulley with the center of the capstan. Only problem with some types of stainless is that it can work-harden as it gets hot from drilling and cutting. Once this happens, it doesn't matter how many times you change the drill bit, the metal is harder than the bit and will take out another one. When this happens, I usually start over with another piece, but I understand that if you heat the material, then let it cool very slowly, it will anneal and become soft again.
To mount the toggle-clamp, I welded a stainless 5/8-18 nut to the upright.
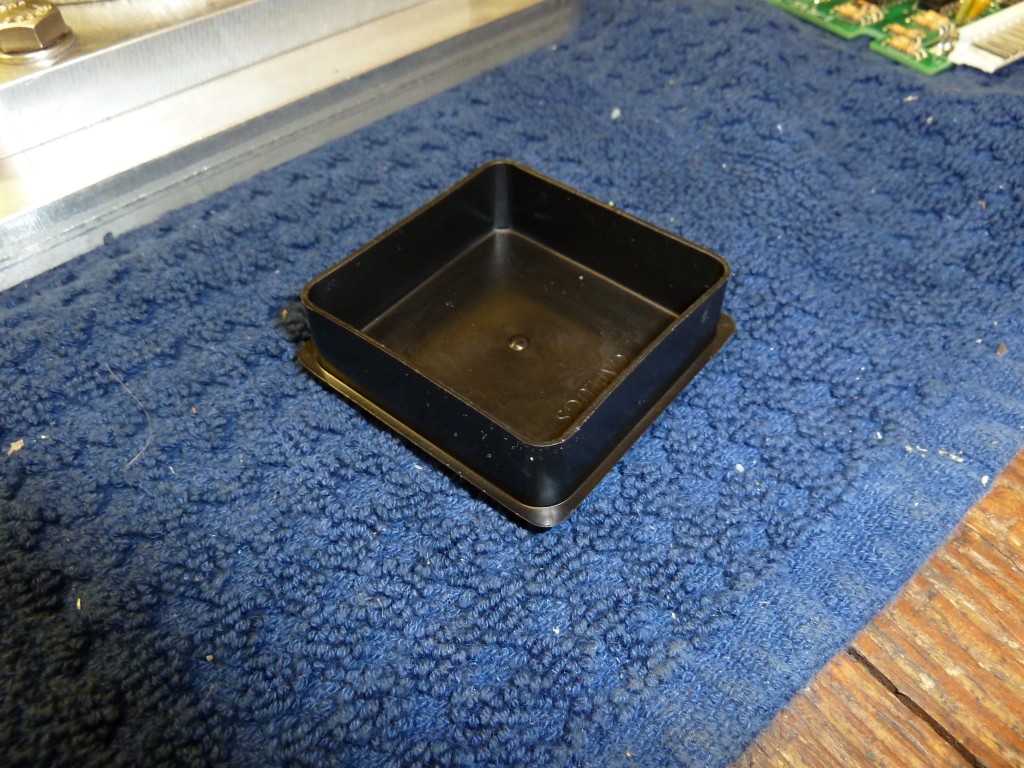
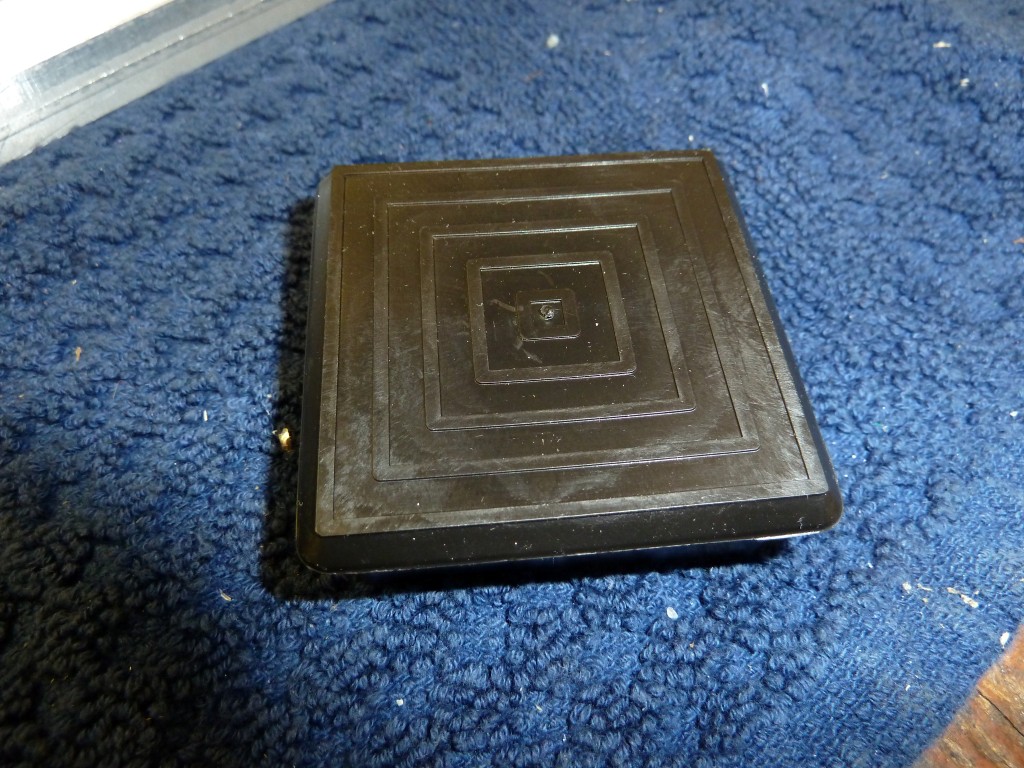
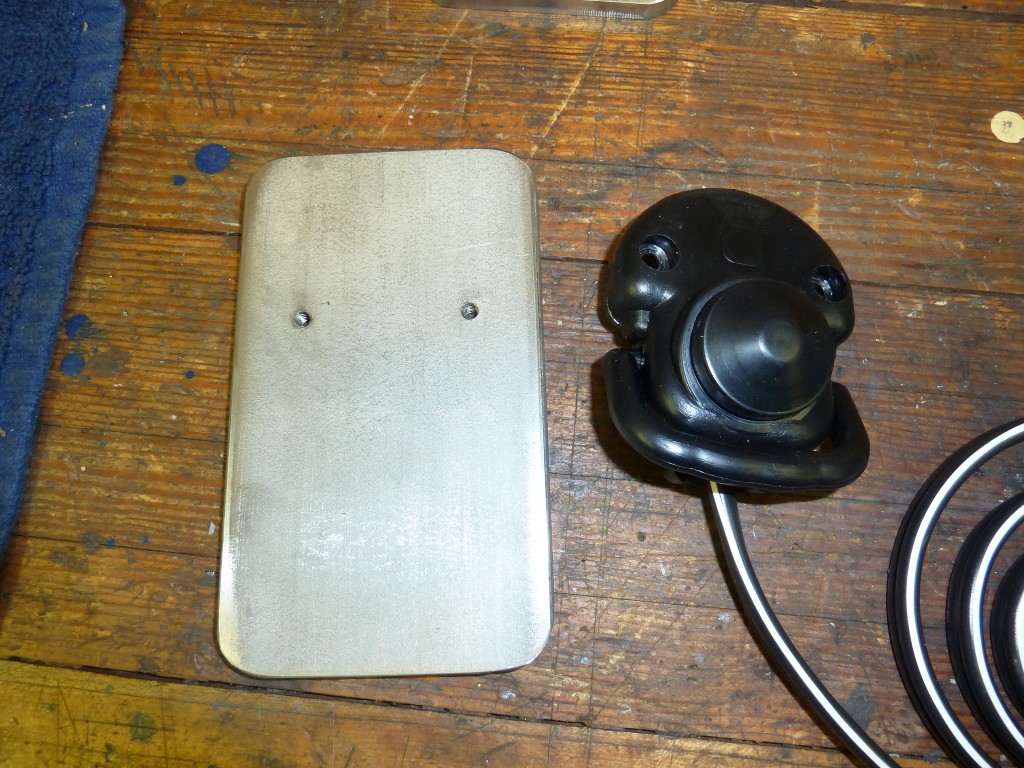
I made a simple plate to add weight and protection to the foot switch. It has some rubber feet under it, and a couple of tapped holes for the screws.
For wiring, I used the circuit breaker that came with the windless on the battery end, and ran the other end into the windlass frame with a grommet. The switch is mounted 4' from the capstan, enough to get it to the deck and move around a little.

At this point, we have all the fab done, and are ready for final assembly. But, while weather-protected via the proper materials, it doesn't look all that great. I checked with the local powder-coating outfit and found that they were running white the next morning, so I hauled it down for that. This and a few other pieces from another project were still under the minimum lot charge of $85. Not terribly cheap, but it sure adds to your enjoyment when project pieces are well finished.
Now's the time things get even more fun - assembling the unit that is freshly powder-coated. Here are random shots .
I ended up using stainless hex-head cap-screws for the base, then pressed on some plastic caps. You can see how flamboyant I am, using red instead of black. It matches the color of the boom locking handle.
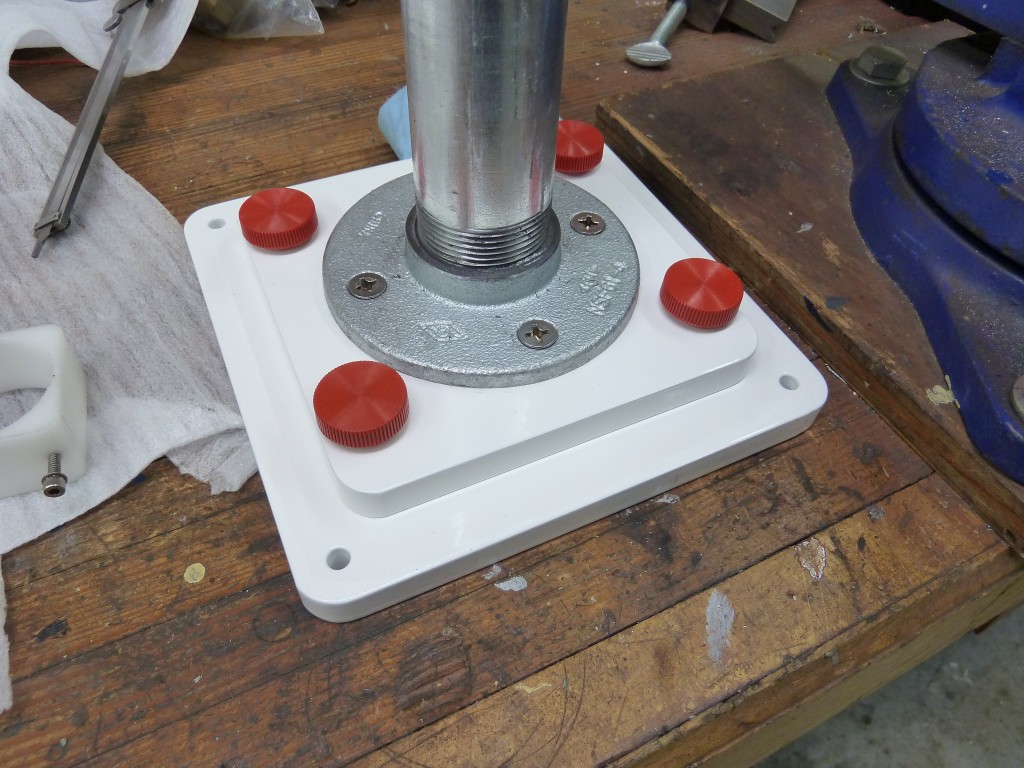
Here's the base with lower bushing in place:
Here's the foot-switch, I just cut the red wire of the #10 pair and spliced in the switch with some solder and heat-shrink tubing -
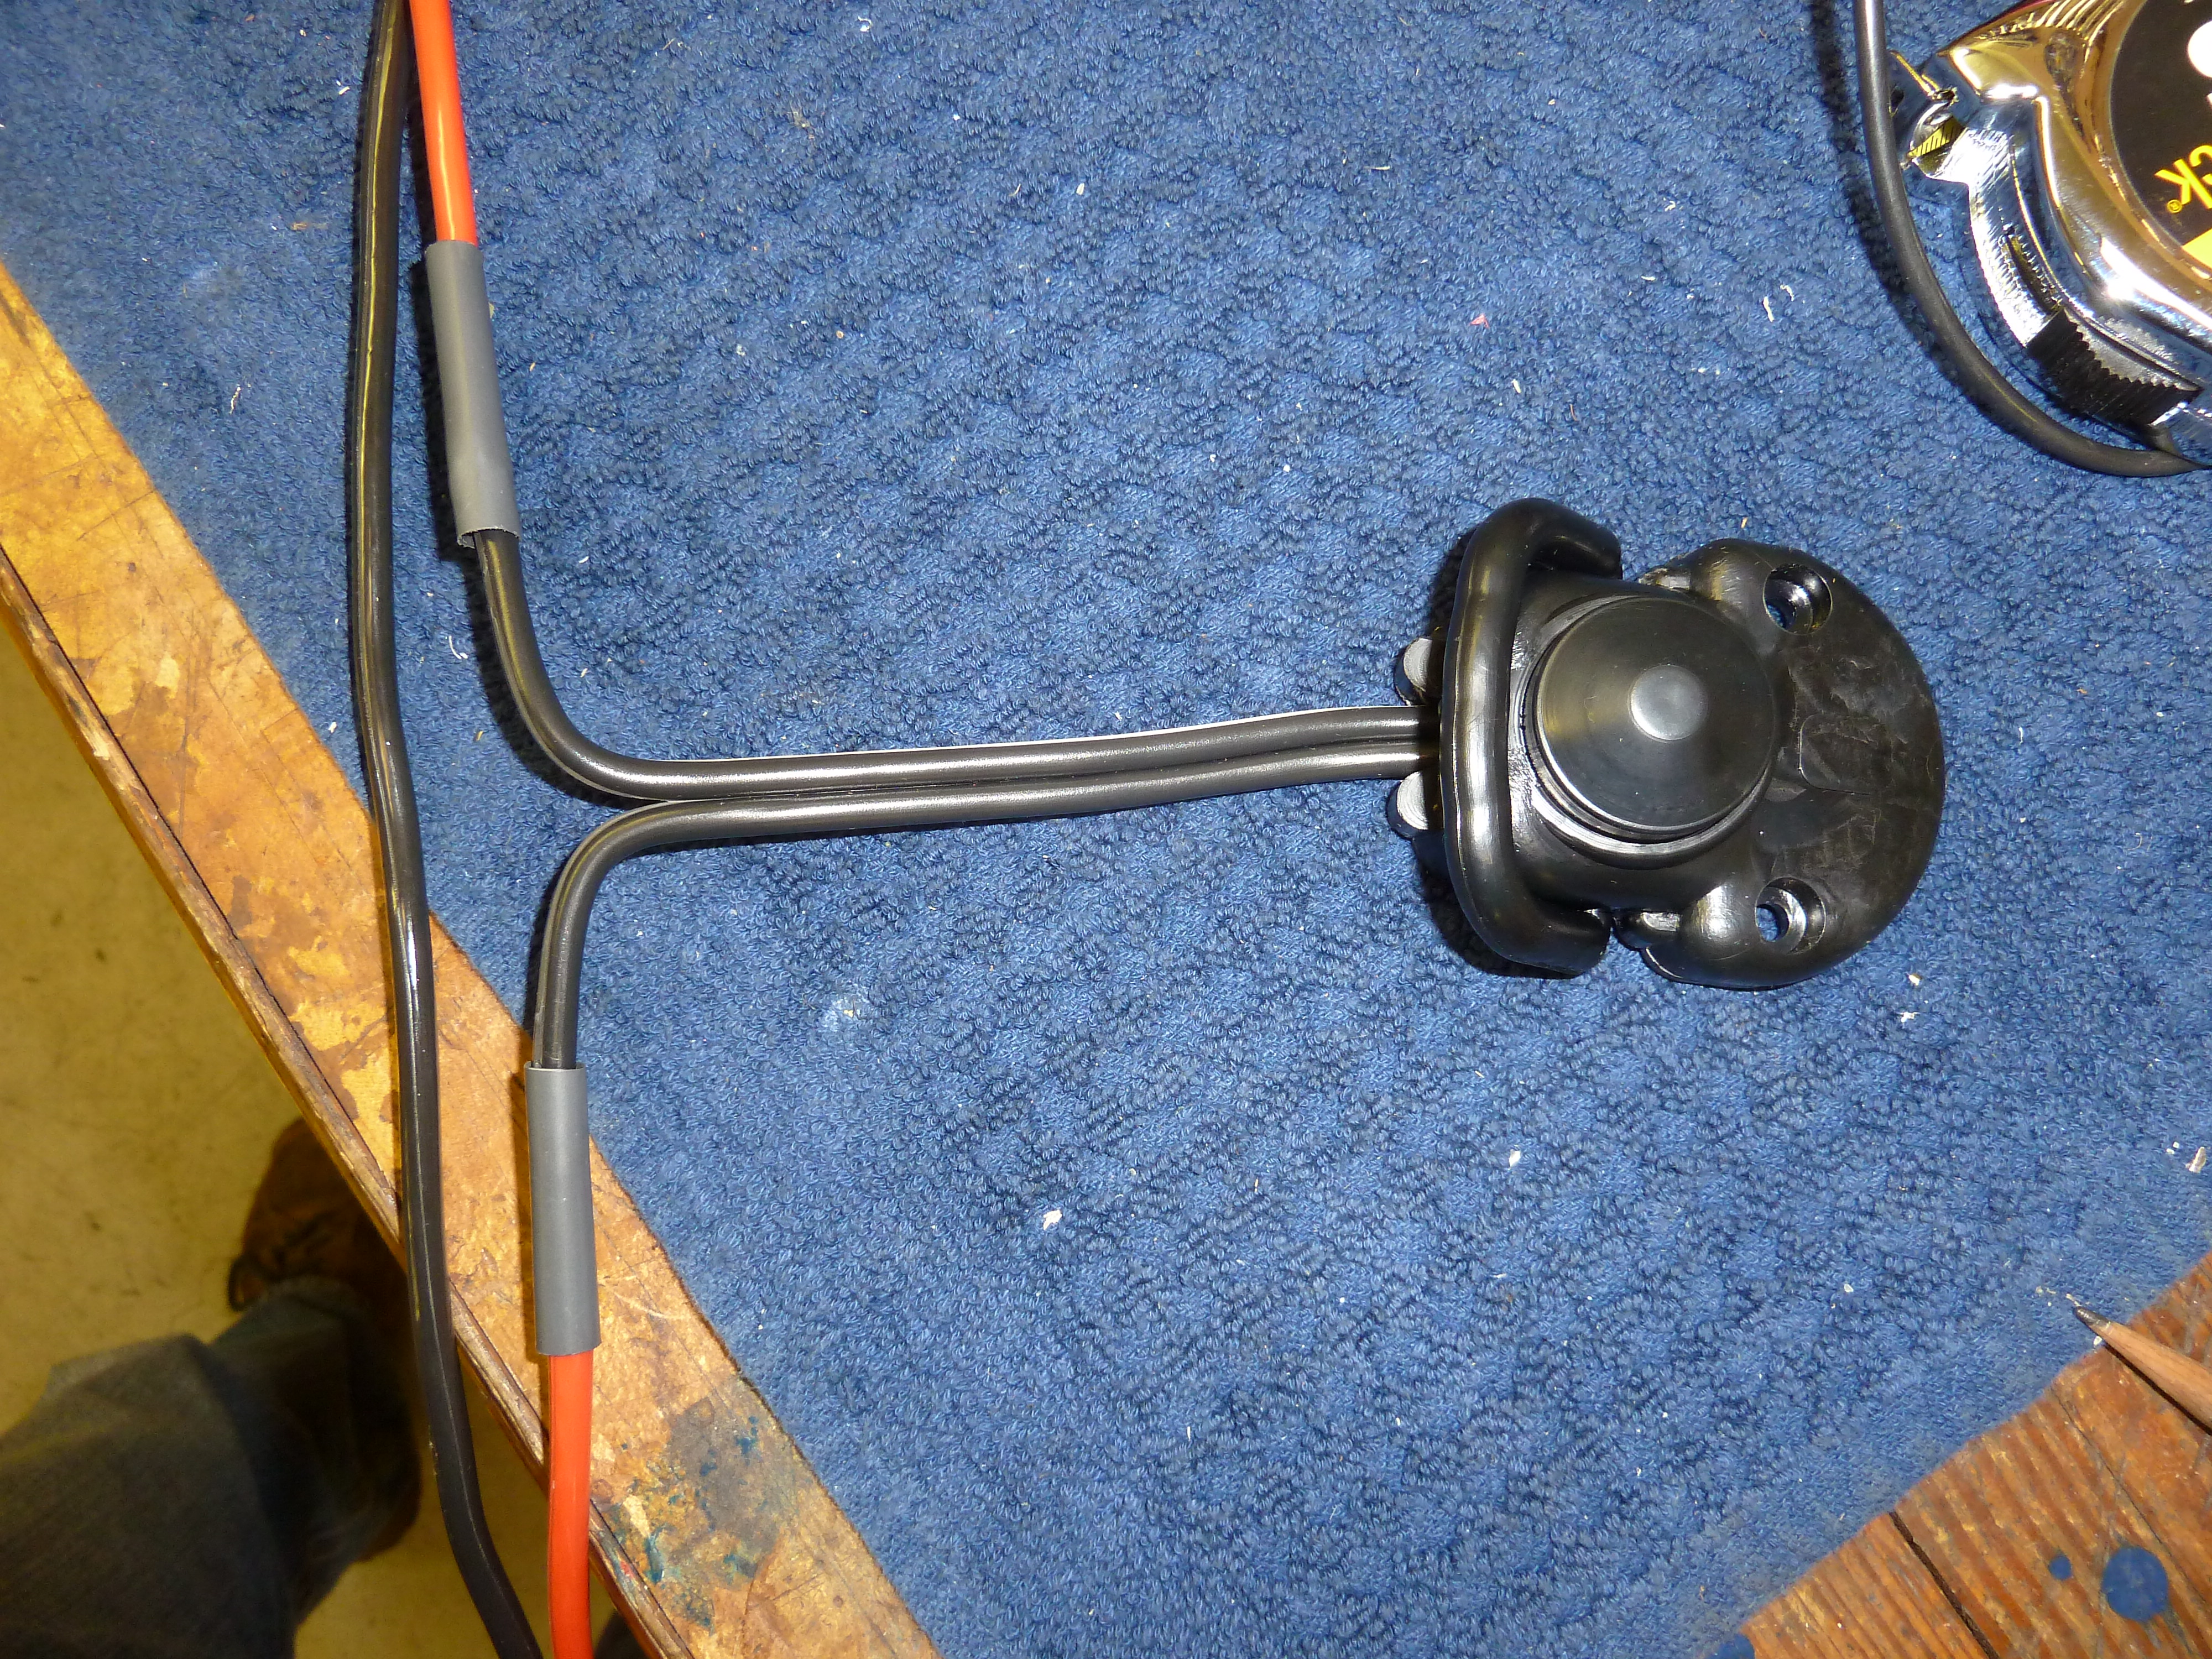
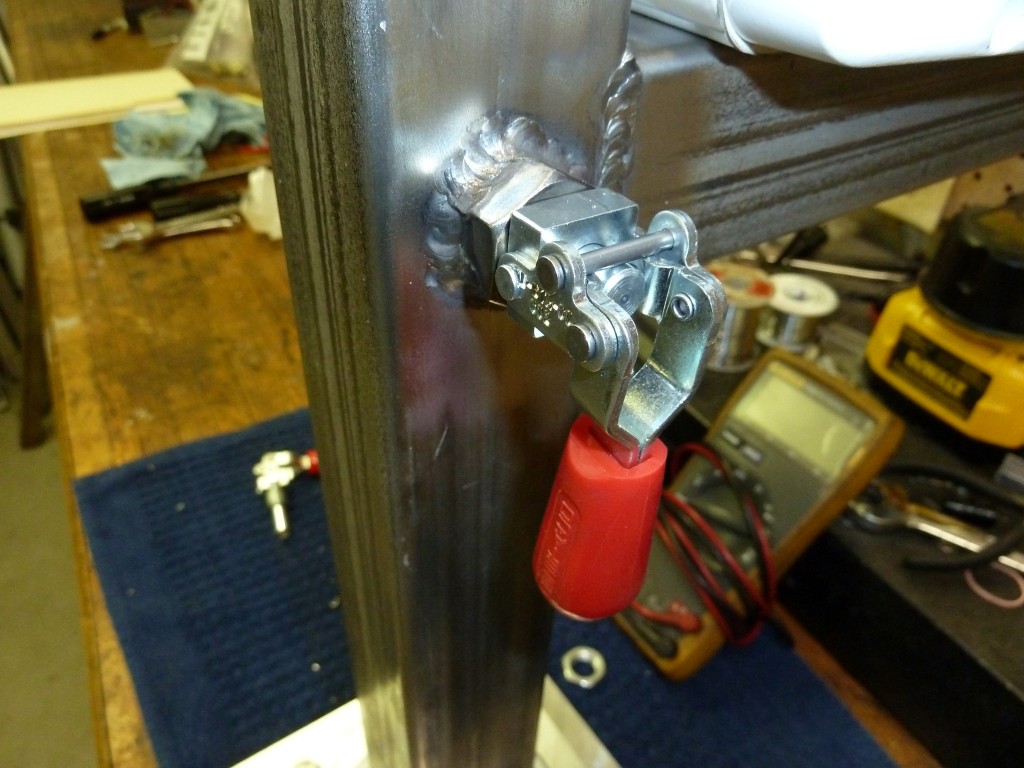
Here's the capstan and toggle-latch -
And this is what the pulley-end of things looks like -
This was a fun project. Other than rounding up parts, it probably took longer to describe it than it did to build it.
I like to point out things on projects that didn't go quite as planned, and there was one on this project. When I got the stuff back from powder-coating and went to slide the upper bushing up from the bottom of the mast, it didn't fit because when I welded the capstan mount and toggle-clamp bolt to the mast, there was weld inside. I guess you can have too much welding penetration at times! Anyway, to fix it, I had to weld two files together to make it long enough to get in there and file down the inside. Not easy. So if you do a project like this, maybe you can figure out how to prevent this problem. Possibly put the bushing in before welding.
As I mentioned earlier, I've included drawings for all the parts I made, and they are here:
If you decide to build something similar, let me know if you come up with some improvements. I'll post them here.
After using the davit for about three years in salt-water, the bottom two aluminum plates looked really rough. The powder coat was coming off, and corrosion was setting in. I'm not sure whether the type of aluminum I used (Mic-6 cast plate) played into this and other aluminum (like 6061) would be better, or just that aluminum is a bad choice here. My brother-in-law upgraded to a new boat, and decided to mount his davit on a Scotty down rigger swivel mount. So I made a replacement plate from stainless steel that matched the bolt-pattern on his Scotty mount. When I measured the mount, the dimensions were odd - not any sort of standard metric or inch measurement. I tried contacting Scotty, but after several emails and phone calls, it became clear to me that they didn't want to share this information. But I figured it out, and will share with you, as a trusted reader! The bolt dimensions are 4.685" x 4.685". If you decide to make your davit with stainless plates, they don't have to be 1/2" thick, I think 1/4" or 3/8"-thick would be plenty for strength and to allow enough thread depth. The lock pin (from McMaster Carr) is also showing some corrosion, it might be worth the extra bucks to get the stainless version of this as well. Salt-water is nasty stuff!